1. Global Process
Here is the global process to implement and distribute a package to user’s workstations.
In prerequisite, the package must have been created and copied in the SCCM repository.
There are 2 ways to implement a package in SCCM: the “Package” model (the easiest and fastest way), and the “Application” model (more powerful, with prerequisites management, conditions…).
Here is the global process with the “Package” model, but the process is the same for applications.

2. Infrastructure and Naming Convention
Let’s define a naming convention for the installation package:
[PackageName]
Manufacturer_ApplicationForXXXX_Version_Language_PackageType_PackageVersion
|
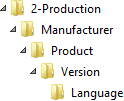
Installation packages must be copied in a repository on the SCCM server.
The SCCM Repository can contain for example the following folders.

For example, every package can be copied under:
3. Package Implementation
The first way to implement a package is the “Package” model.
It’s the easiest and fastest way to implement a package.
That way must be used, for simple packages, without prerequisites or launch conditions.
With the “Package” model, the installation package is installed a single time on each machine targeted and is never reevaluated after. It’s possible to reinstall it from the Software Center.
To implement the package with the “Application” model, skip that section and go to next chapter.
3.1 Package Creation
3.1.1 Package Creation
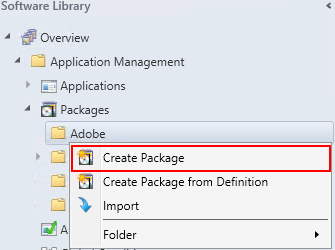
The first thing to do is to create a new package in SCCM.
- Go to the “Software Library” section
![]()
- In “Application Management”, Go to the “Packages” section
- Right-click the associated folder and select “Create Package”
.
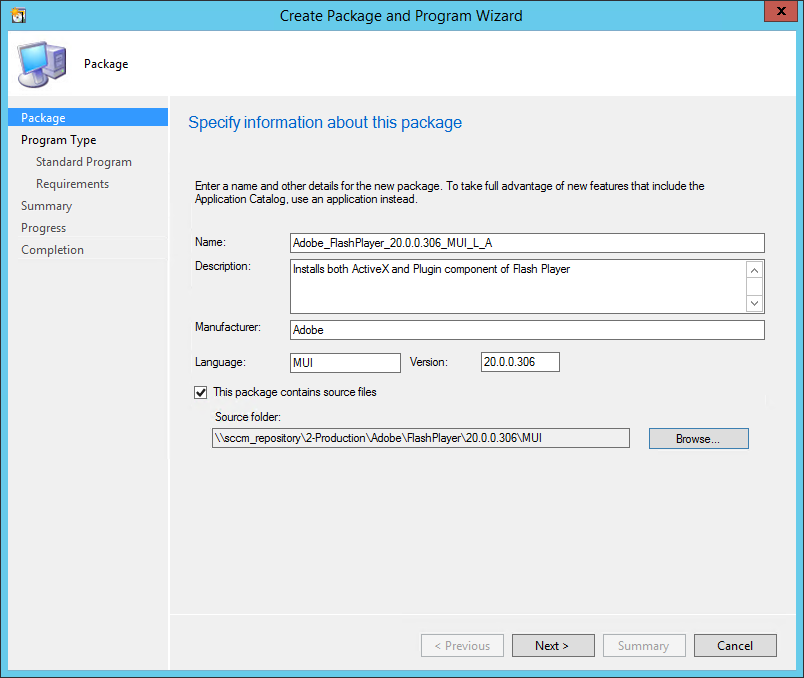
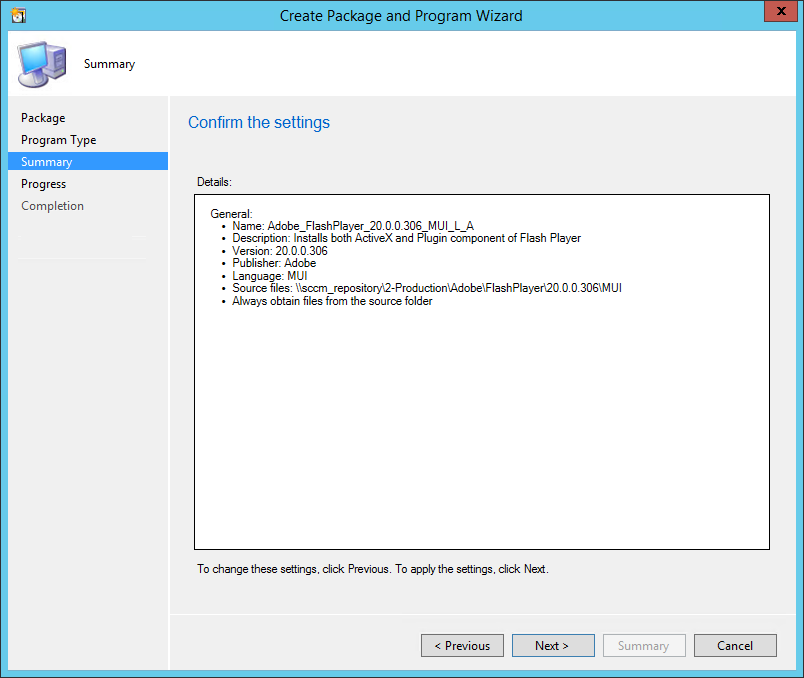
Type the package name, the manufacturer, the language and the version
Browse the source folder (where the package has been copied on the SCCM repository)
Next
.
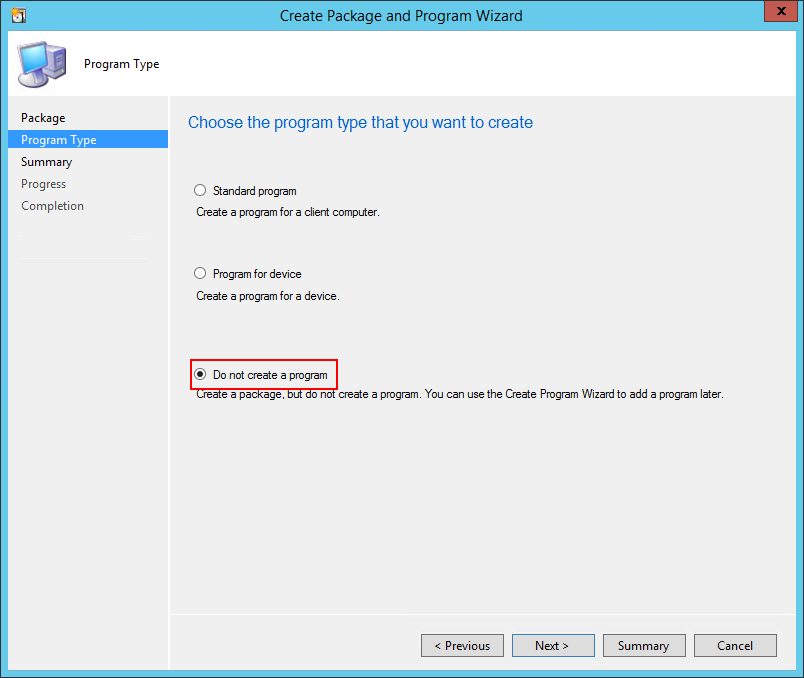
Do not create a program (will be done later)
Next
.
Next
.
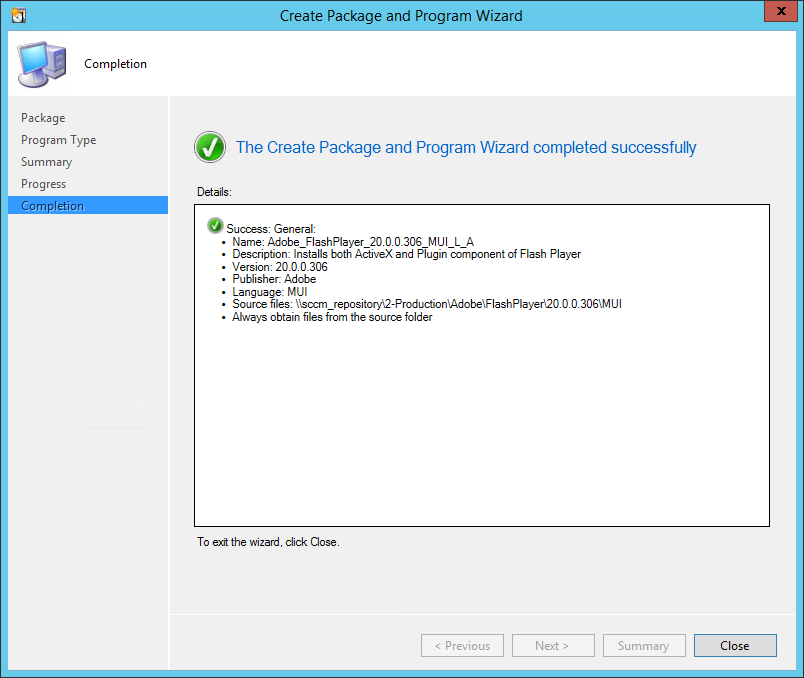
Close
.
3.1.2 Package Properties
- Right-Click on the package, then select “Properties”
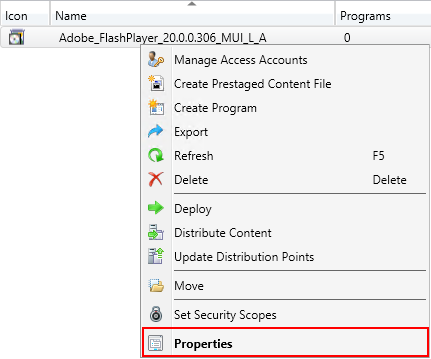
.
Data Source
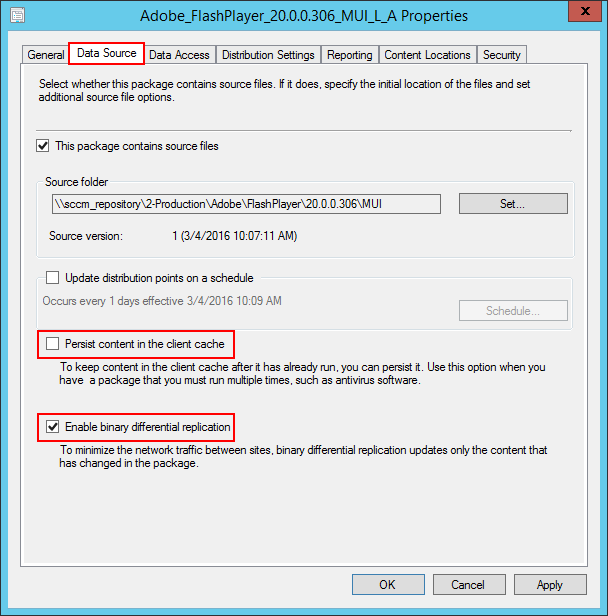
In case you want the sources of the package to persist in the client cache (for example if the package has an Active Setup which launch an auto-repair), select “Persist content in the client cache”
Select “Enable binary differential replication”
.
Data Access
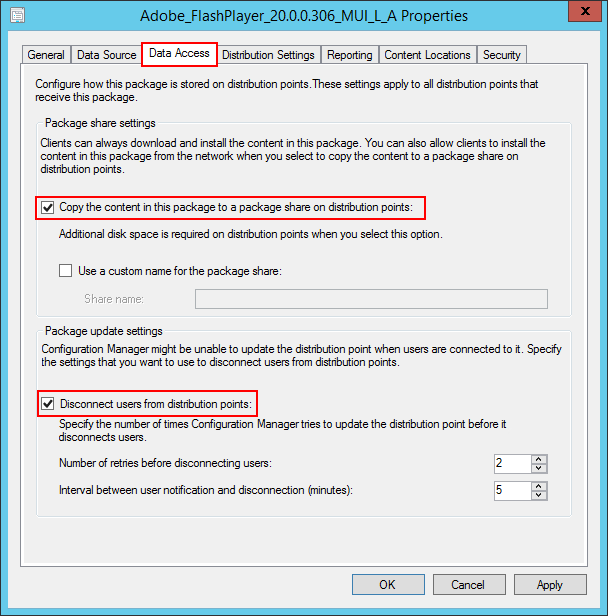
Select “Copy the content in this package to a package share on distribution points”
Select “Disconnect users from distribution points”
.
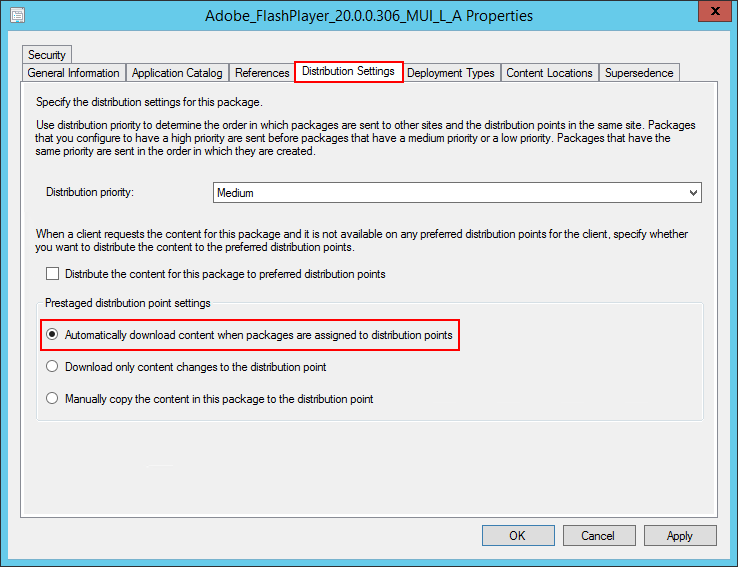
Distribution Settings
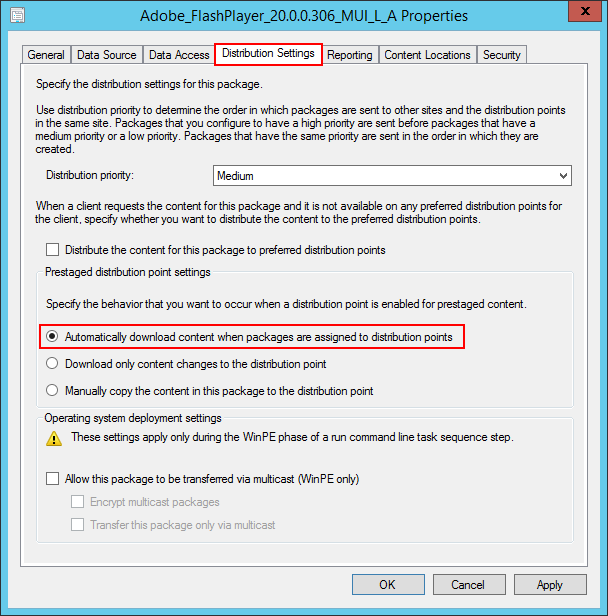
Select “Automatically download content when packages are assigned to distribution points”
Apply
OK
.
3.2 Programs Creation
It’s now time to associate different programs to the package.
Programs are actions to perform, like installation, uninstallation…
3.2.1 Program Creation
- Right-click the package and select “Create Program”

.
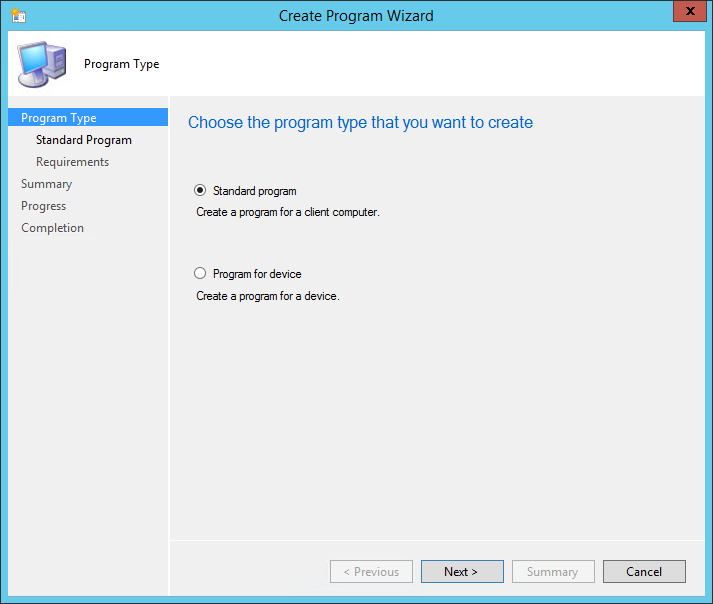
Standard program
.
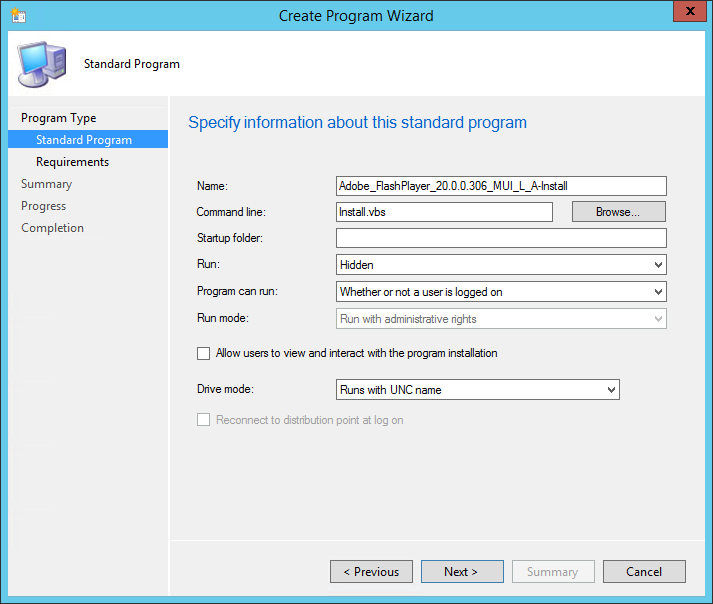
Name the program
Browse the installation script
Run: Hidden
Program can run: Whether or not a user is logged on
Next
.

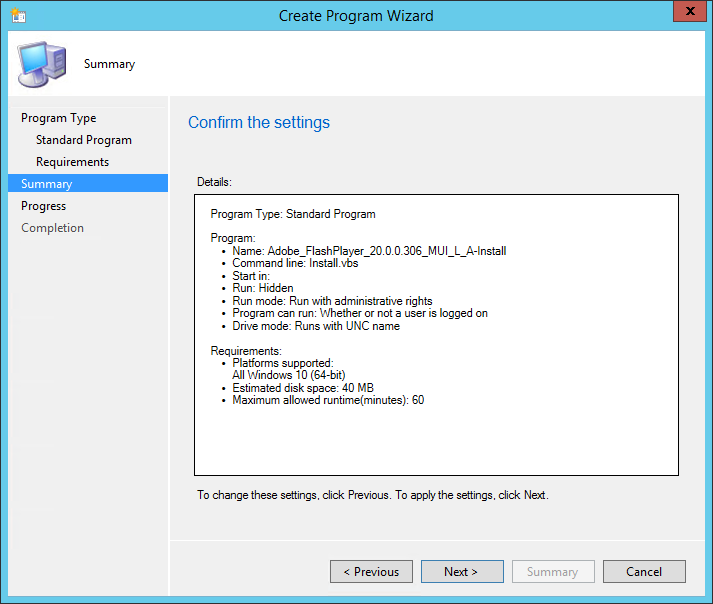
Select the platforms on which the package can be installed
Estimated disk space
Maximum allowed run time
Next
.
Next
.
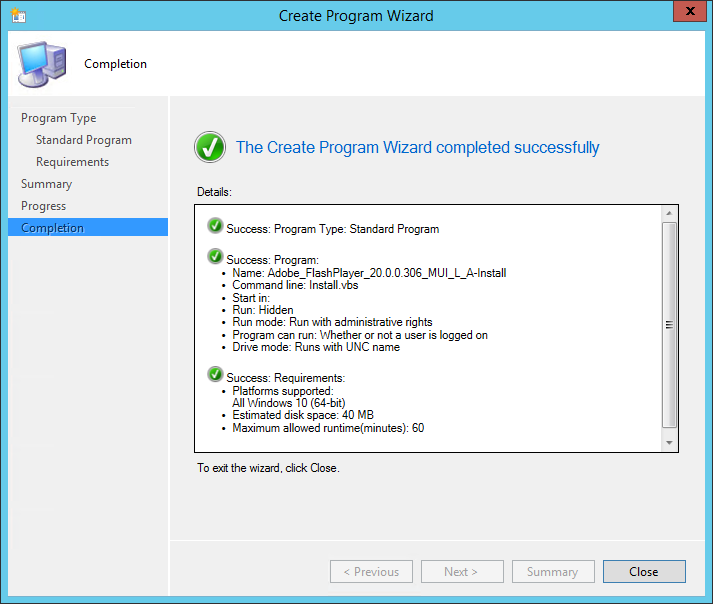
Close
.
3.2.2 Program Properties
If a reboot or a log-off / logon are required, set the properties of the program.
- Right-click the program and select “Properties”
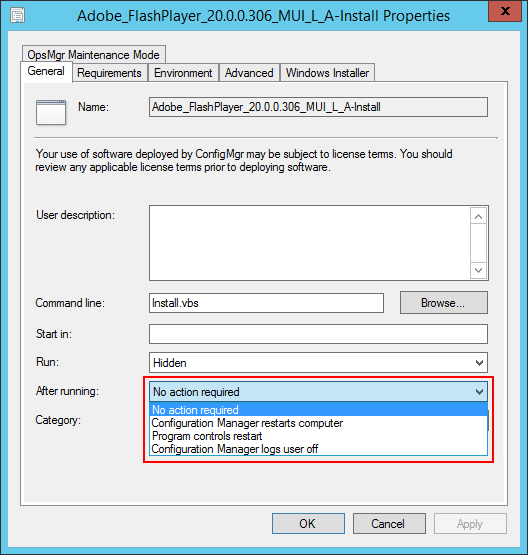
After running: Select the action required
Apply
OK
.
3.3 Copy on Distribution Points
When all the programs needed are created and configured, the package can be copied on the Distribution Points.
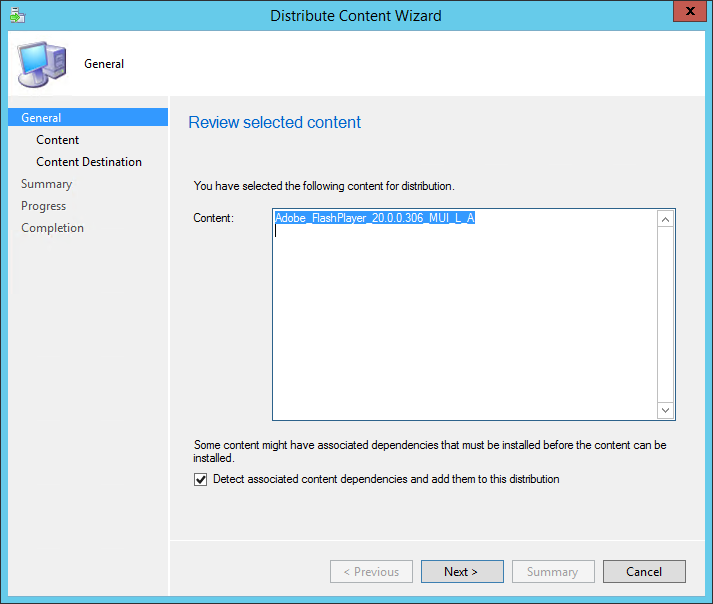
- Right-Click the package then selects “Distribute Content”
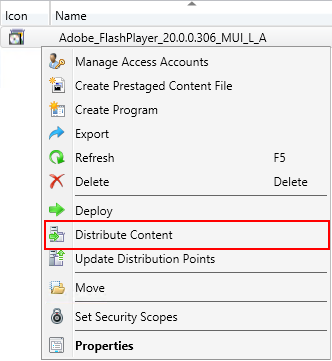
.

Next
.
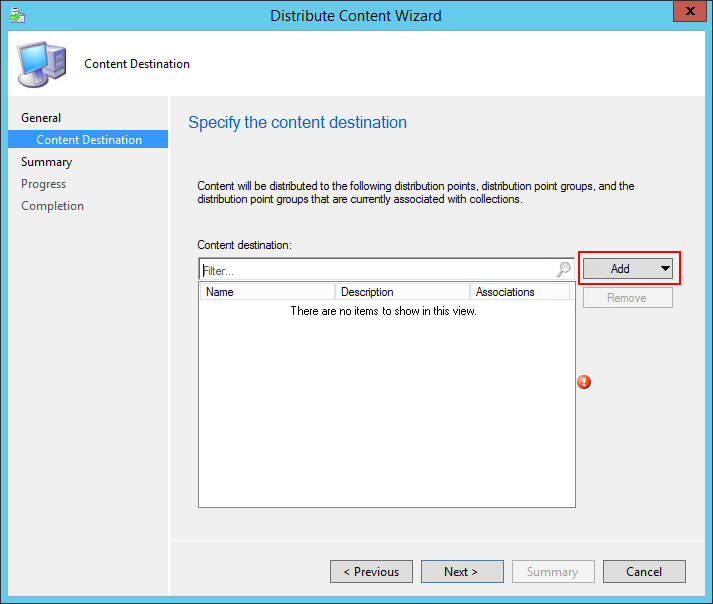
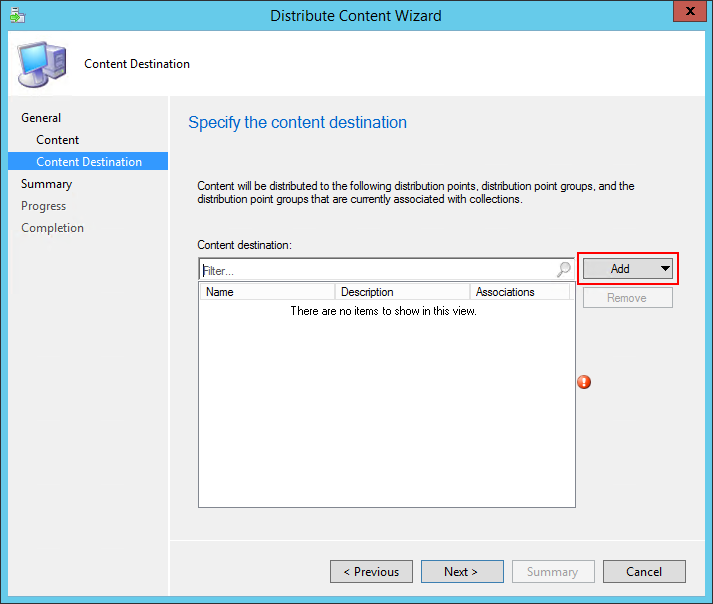
Click Add and select the Distribution Points
Next
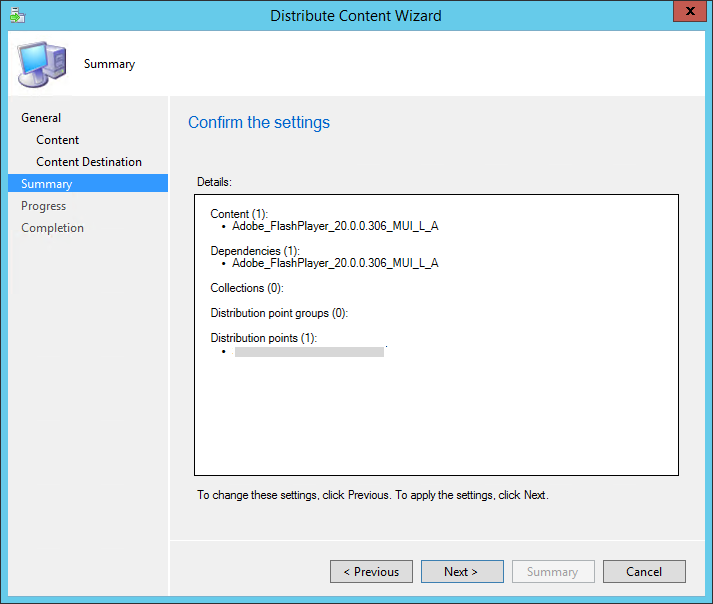
.
Next
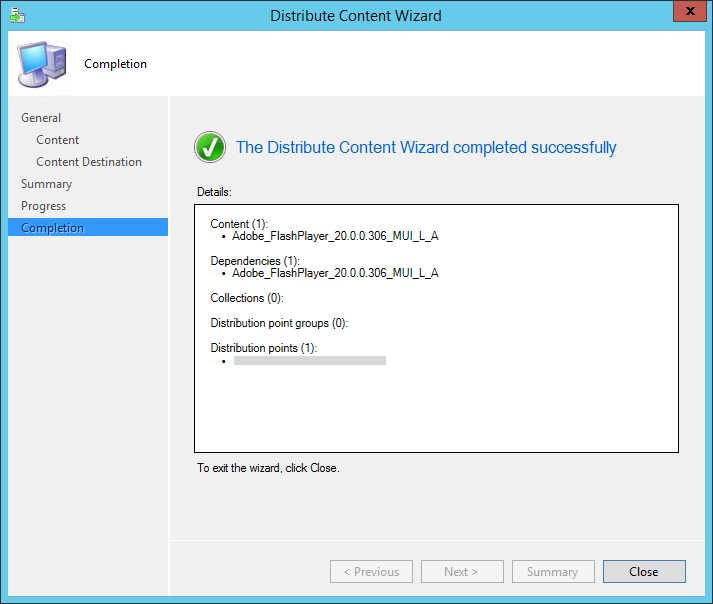
.

Close
.
4. Application Implementation
The second way to implement a package is the “Application” model.
It’s a more powerful process because you can add prerequisites, launch conditions (also named Detection Method)…
Once installed, the installation is periodically reevaluated and reinstall it if it’s not on the machine anymore.
If you have already implemented the package with the “Package” model, skip that section and go to next chapter top create collections.
4.1 Application Creation
4.1.1 Application Creation
The first thing to do is to create a new application in SCCM.
- Go to the “Software Library” section
![]()
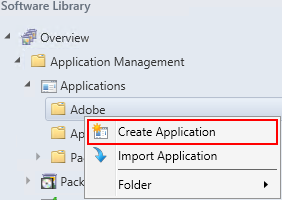
- In “Application Management”, Go to the “Applications” section
- Right-click the associated folder and select “Create Package”
.

Select “Manually specify the application information”
Click Next
.
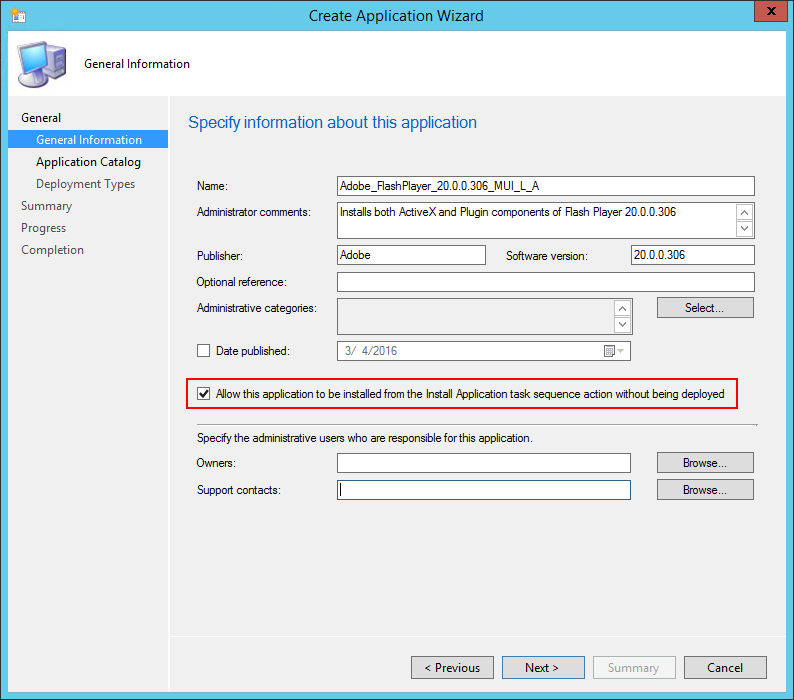
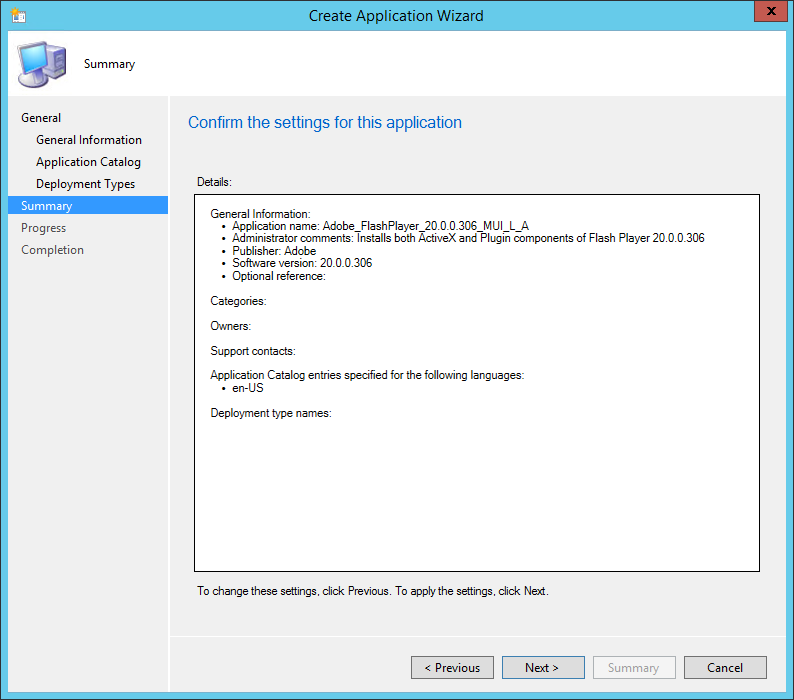
Name
Administrator comments (optional)
Publisher
Software Version
Select “Allow this application to be installed from the Install Application task sequence action without being deployed”
Click Next
.
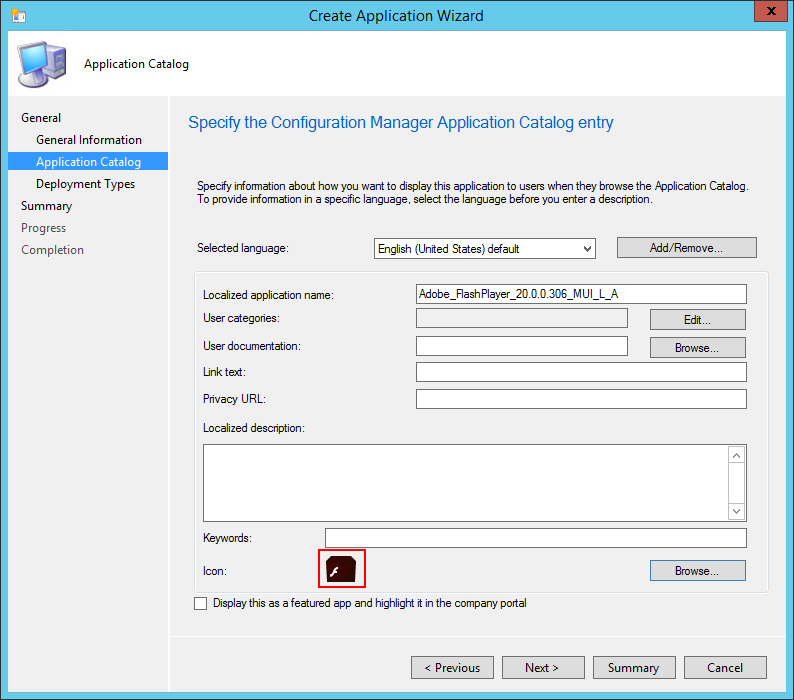
If possible, browse the icon (will appear in Software Center)
Next
.

Next
The deployment type will be created after…
.
Next
.
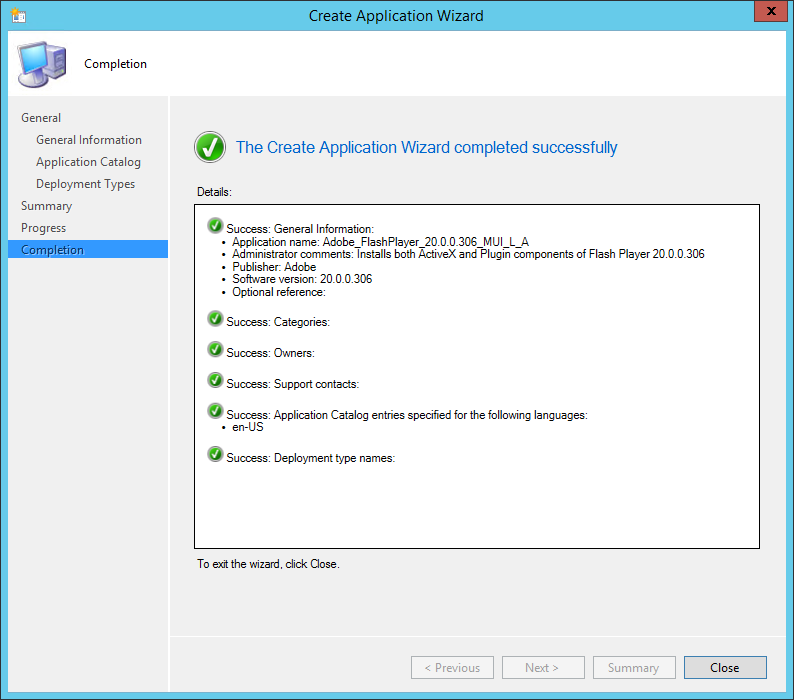
Close
.
4.1.2 Application Properties
- Right-Click on the application, then select “Properties”
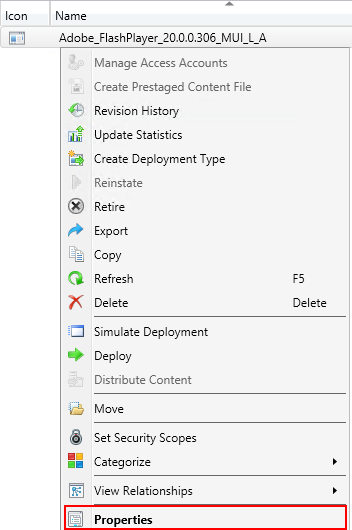
.
Distribution Settings
Select “Automatically download content when packages are assigned to distribution points”
.
4.2 Deployment Type Creation
It’s now time to associate different deployment types to the package.
Deployment types are actions to perform, like installation, uninstallation…
It’s the equivalent of the programs for the package model.
4.2.1 Deployment Type Creation
- Right-click on the application and select “Create Deployment Type”
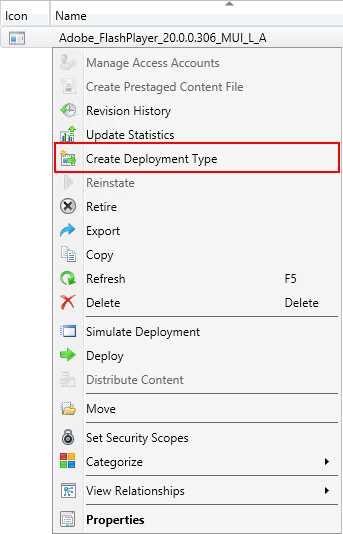
.

Select “Script Installer”
Select “Manually specify the deployment type information”
Next
.
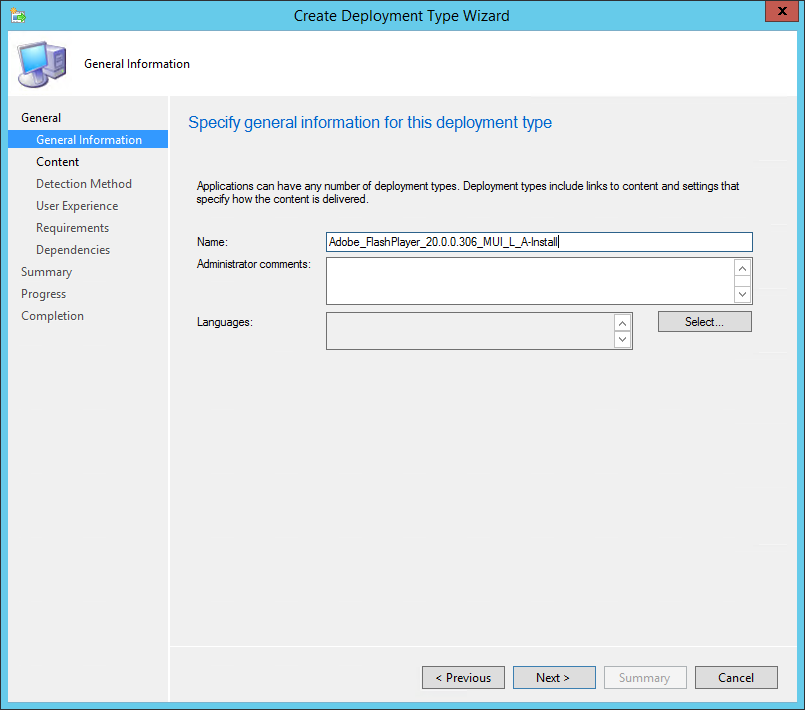
Specify a name for the deployment type
Click Next
.

Specify the location of the package
Select “Persist content in the client cache” if the package sources must persist in the client cache (in case of Active Setup repairing the MSI for example)
Browse the launcher
By default, “Run installation and uninstall programs as 32-bit process on 64-bit clients” is not checked. But some software need sometimes to have this option selected (for example Dot Net Framework)
Next
.

It’s now time to define the launch conditions also named Detection Methods.
The application will be installed only if it’s not already installed, hence if it’s not detected.
2 detection method types:
- By configuring rules (checking a file, the registry or a Product Code)
- By using a script
Detection Using Rules: File System
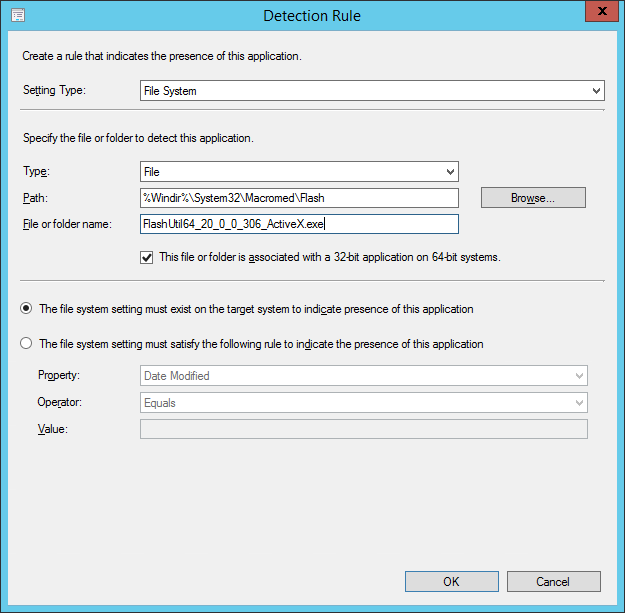
Select “File System”
Indicate the location of the file to check
Detection can be set on:
- Presence/absence of the file
- Date modified
- Date created
- Version
- Size
Detection Using Rules: Registry
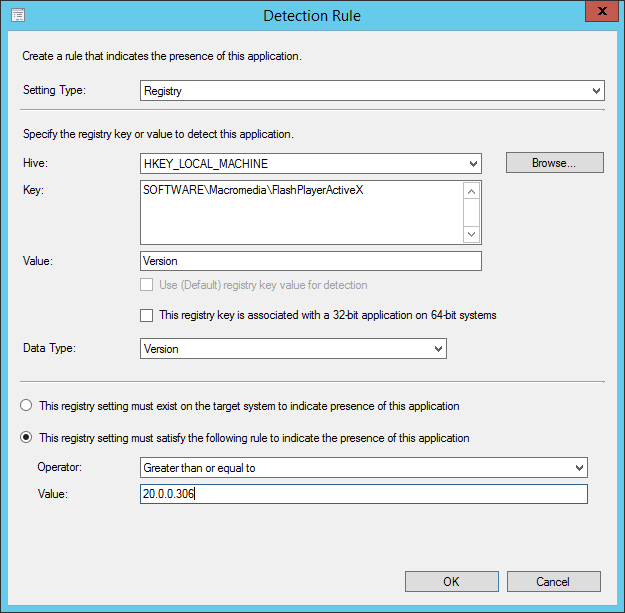
Select “Registry”
Indicate the registry entry (manually or browsing the server)
Detection can be set on:
- Presence/absence of the entry
- Value of the entry (equal to, greater than string, version, integer…)
Detection Using Rules: Windows Installer
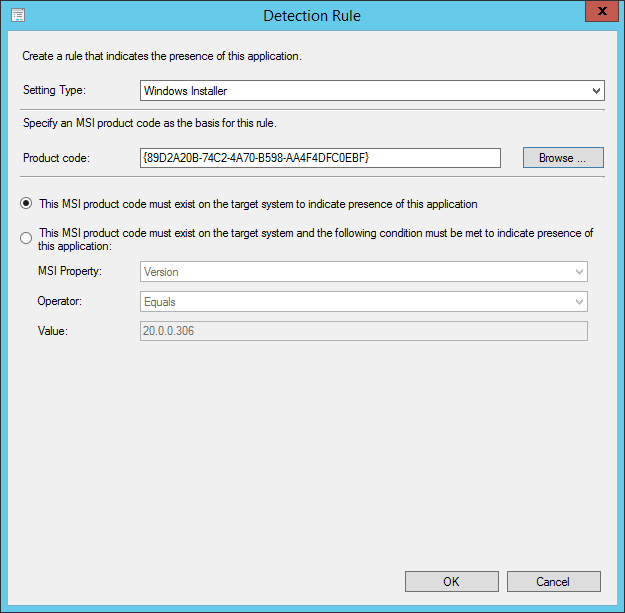
Select “Windows Installer”
Browse the MSI file, the Product Code is set automatically
Detection Using a Custom Script
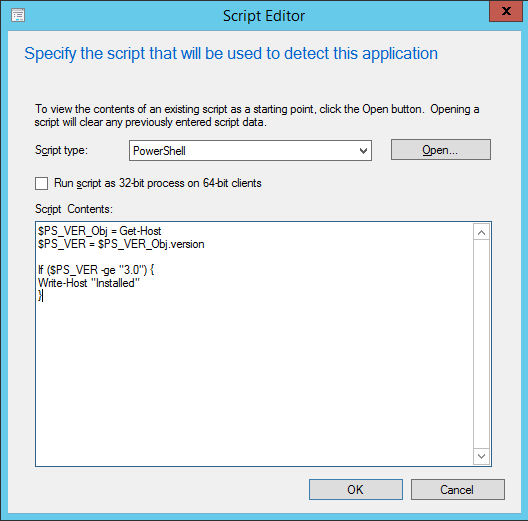
Select the script type (PowerShell, VBScript or JScript)
Insert the script code
The example above is the detection method of PowerShell 3.0:
- Retrieval of the version of PowerShell (“version” attribute of the “Get-Host” object)
- If it’s greater or equal to “3.0”, it’s detected (Hence the package will not be installed).
Back to the Detection Method window.
Detection rules are now defined, we can go forward.
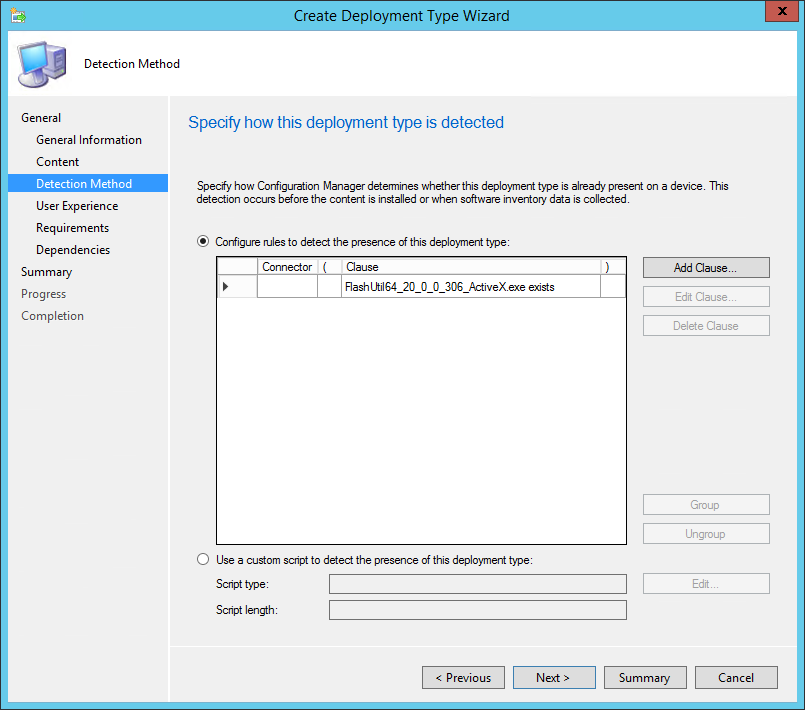
Click Next
.
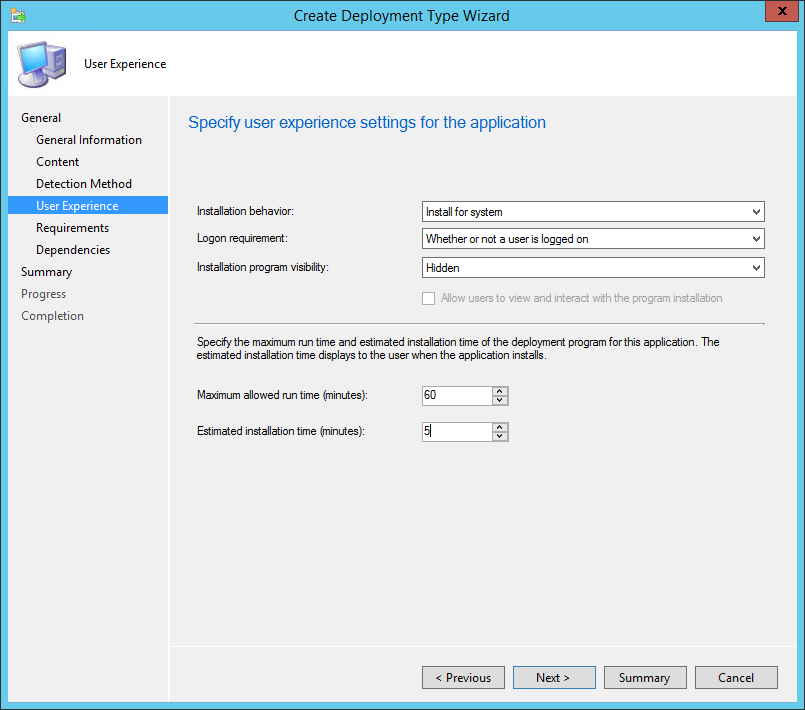
Installation behavior: Install for system
Logon requirement: Whether or not a user is logged on
Installation program visibility: Hidden
Type the maximum allowed run time and the estimated installation time
Next
.
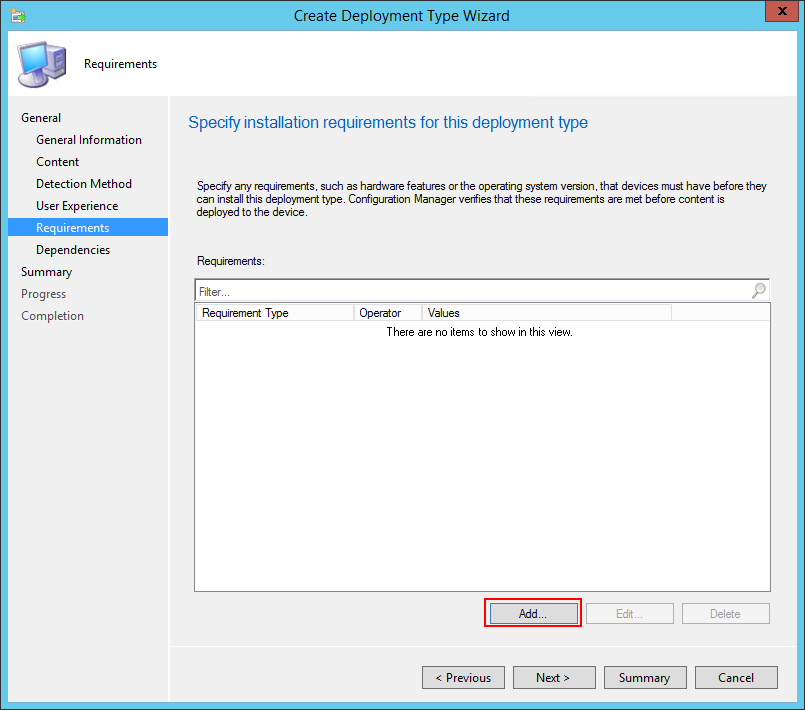
Click Add…
.
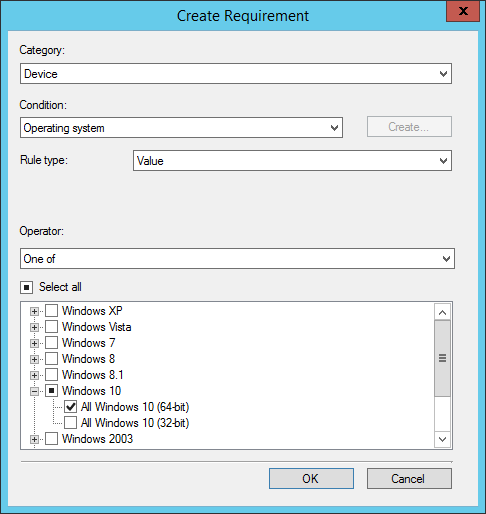
Select the filter needed
OK
Then Next
.

Software dependencies can be added.
If the application as a prerequisite (for example C++ runtime 2013…), it can be added here.
Click “Add…” and browse all pre-required applications to install
Once finished click Next
.
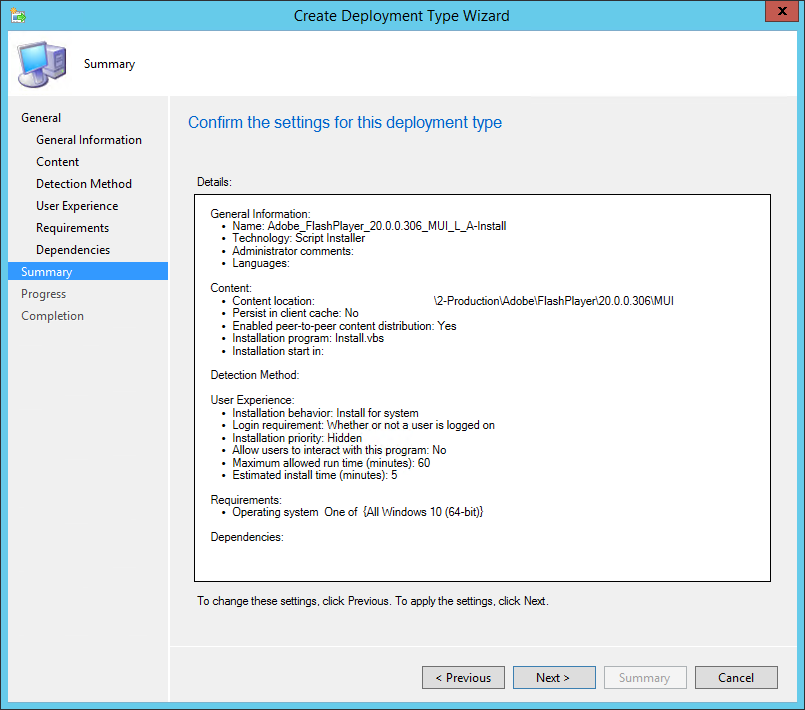
Next
.
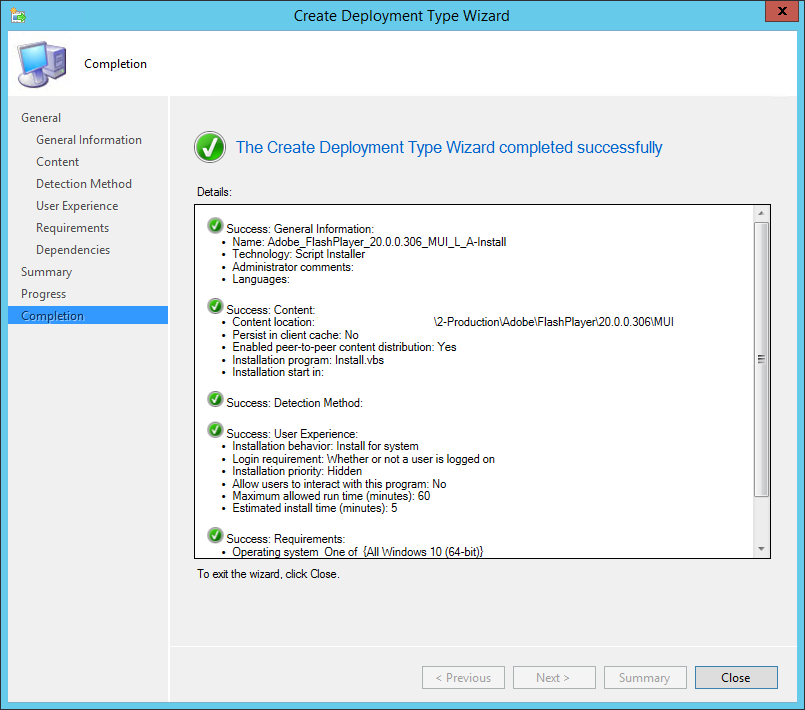
Close
.
4.2.2 Deployment Type Properties
- Right-click on the deployment Type and select “Properties”
Content
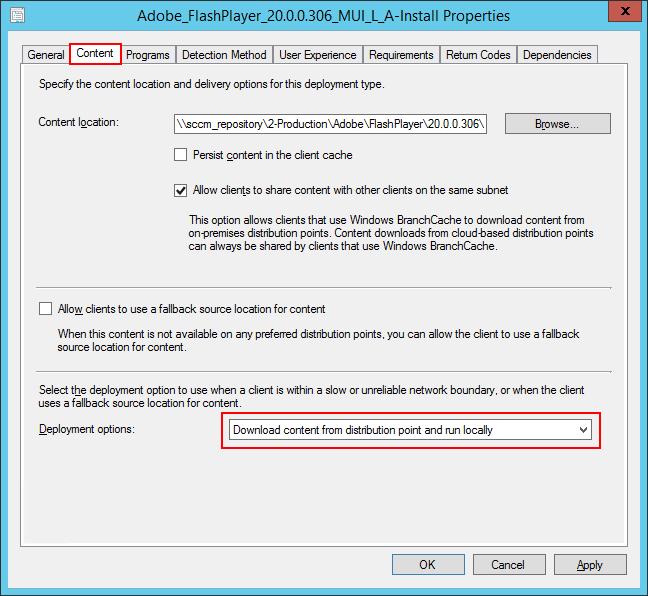
Select “Download content from distribution point and run locally”
.
User Experience
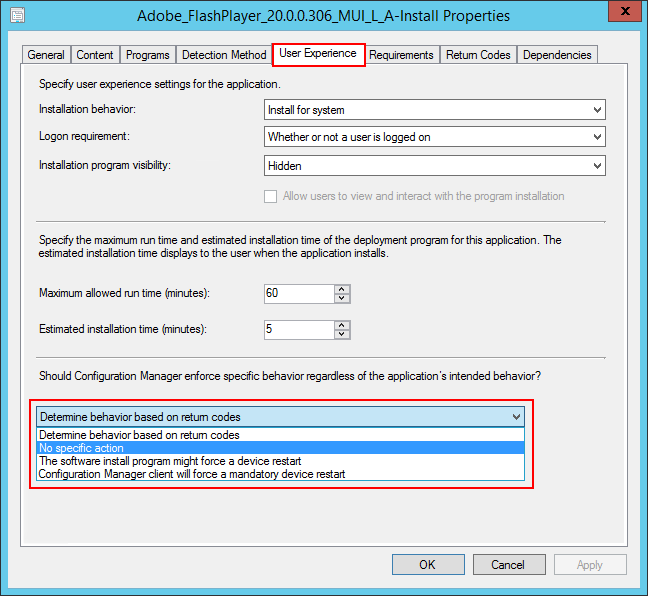
Select the behavior to enforce if needed.
4.3 Copy on Distribution Points
When all the deployment types needed are created and configured, the package can be copied on the Distribution Points.
- Right-Click the deployment Type then selects “Distribute Content”
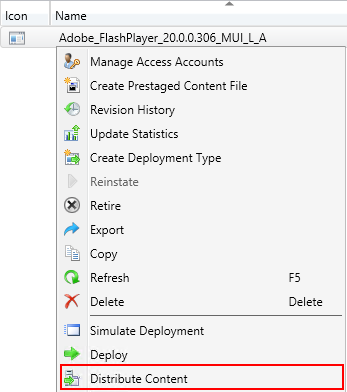
.
Next
.

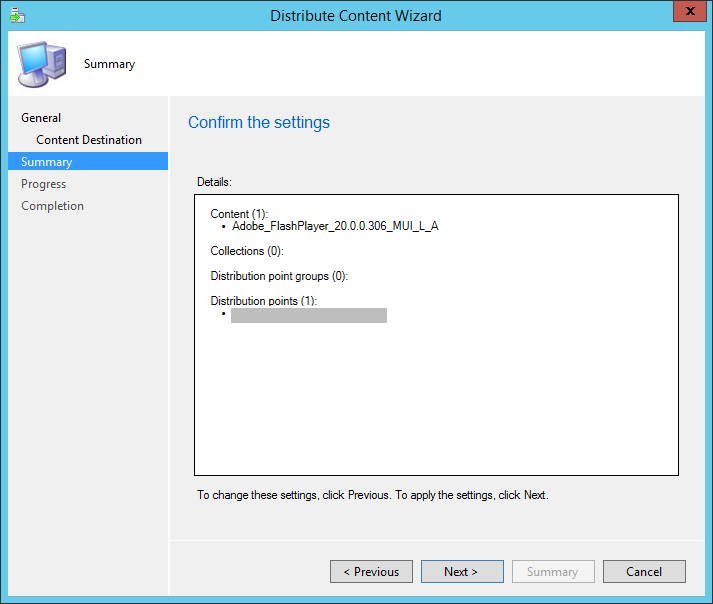
Next
.
Click Add and select the Distribution Points
Next
.
Next
.
Close
.
5. Collection Creation
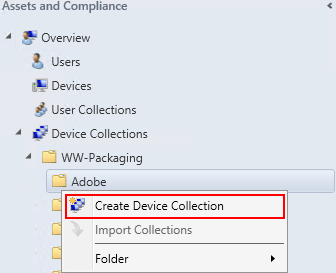
In “Assets and Compliance”, go to the “Device Collections” section
![]()
- Right-Click the associated folder then select “Create Device Collection”
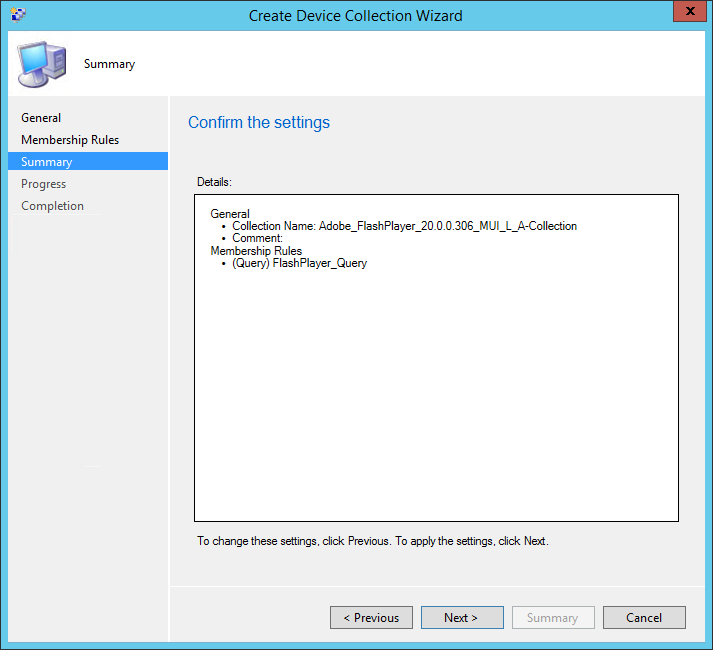
.
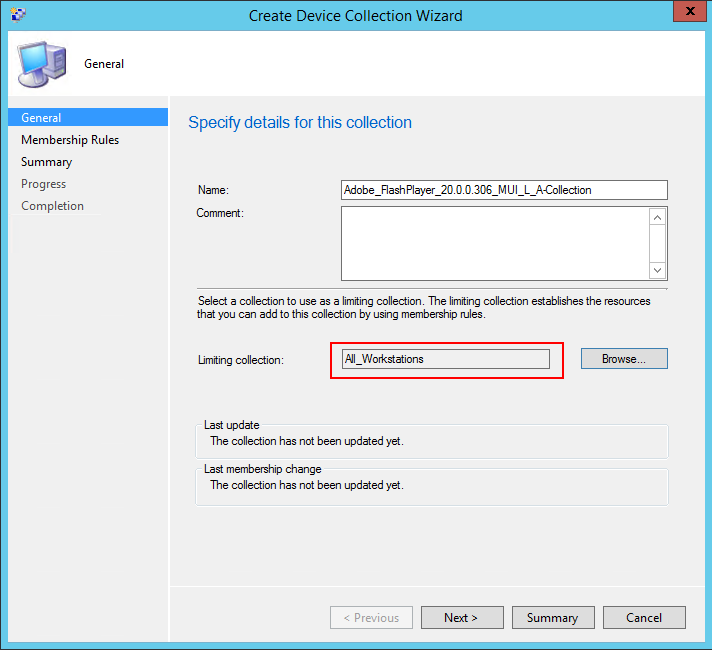
Name the collection
Browse the limiting collection according to the needs
Next
.
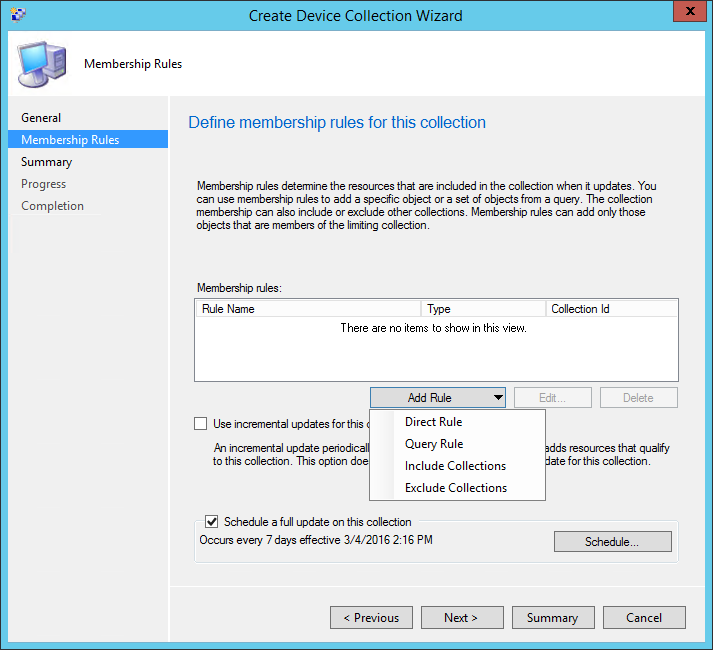
Membership Definition
Include Collections: Allows including all the member of another collections
Query Rule: Allows using SQL requests to define the members
The rule also can be empty, and then computers will be added manually after
.
Query Rule: Associate a collection to an AD group
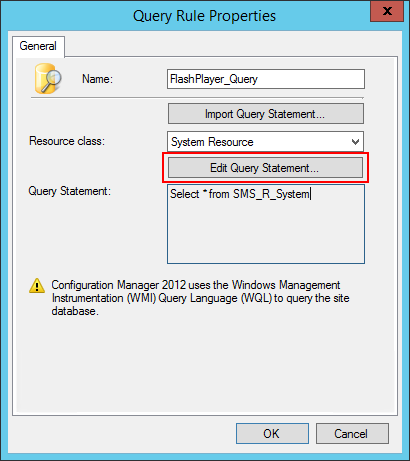
Name the query
Click “Edit Query Statement”
.
Use the request editor (“Criteria” section) to create the request
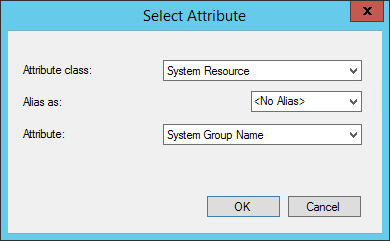
Click Select and choose “System Resource” then “System Group Name”
.
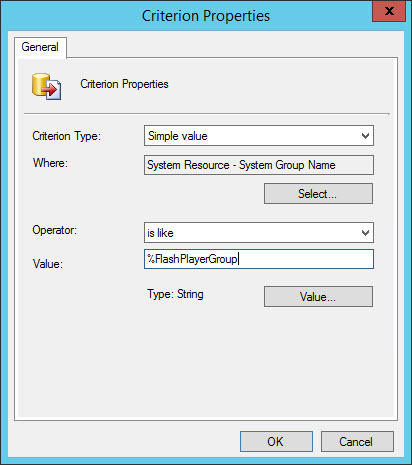
Operator: “is like”
Type the value then validate.
.
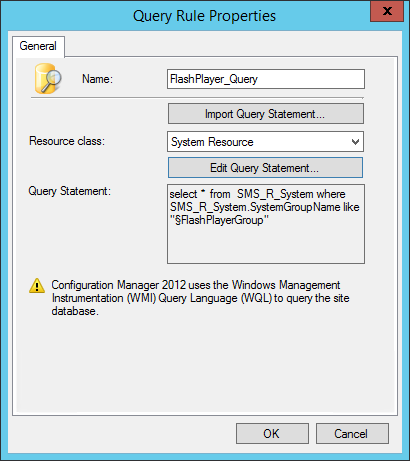
That query allows distributing the package on all members of the groups containing “FlashPlayerGroup” in its name.
Back the membership window, click “Schedule”
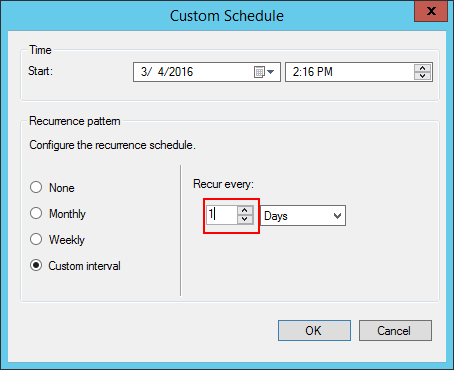
Recur every: 1 day
OK
.
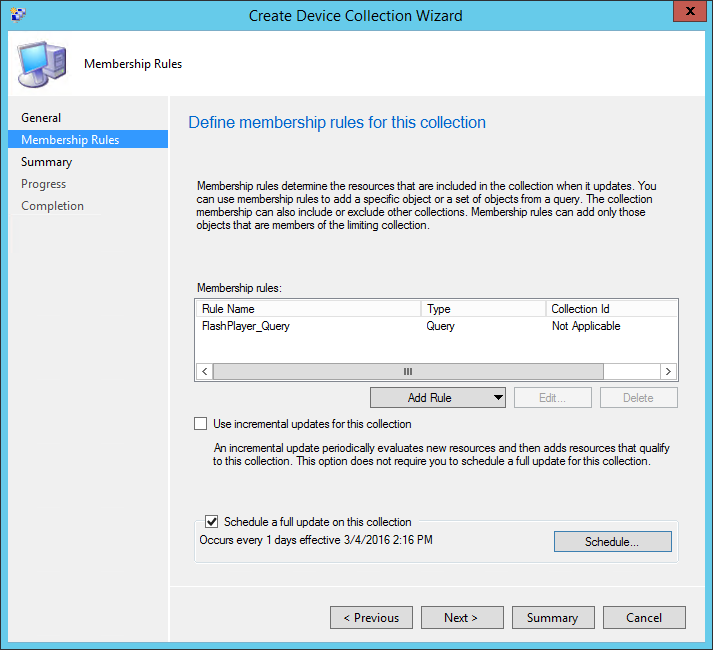
The collection is ready (rule and schedule defined)
Click Next
.
Next
.
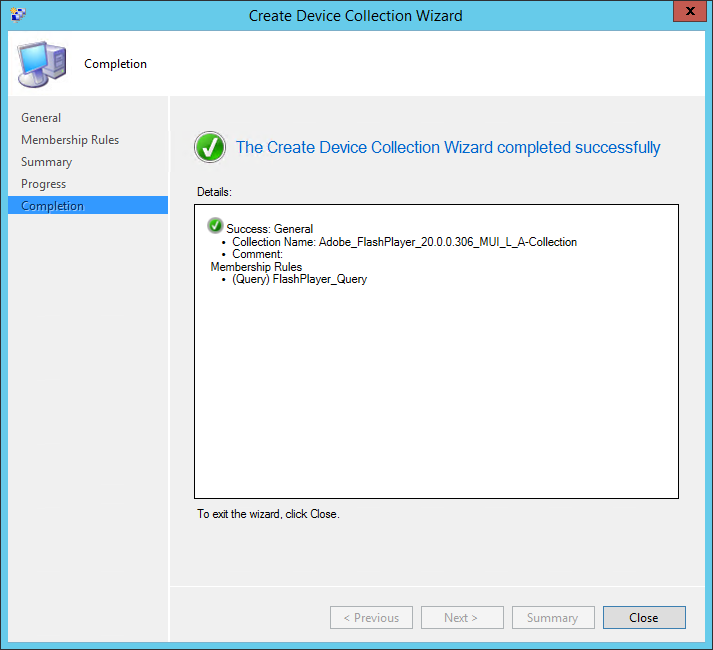
Close
.
6. Add Members in a Collection
To add additional members in a collection, right-click the collection and select “Add Resources”
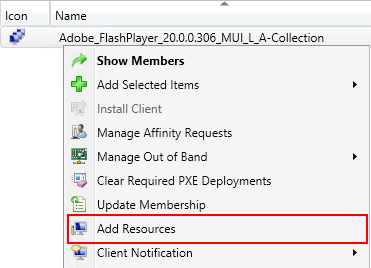
.

Type the workstation name then click Search
The workstation appears in the “Search results” field
Select the workstation
Click Add
OK
7. Deployments Creation
7.1 Deploy a Package
The package has been created.
Programs have been associated to the software.
The content have been copied on the Distribution Points.
The collection defining the target workstations has been created.
It’s now time to associate the installation program to the collection and to schedule the installation.
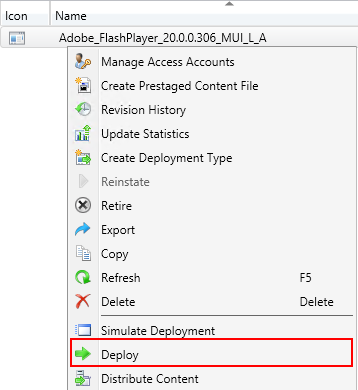
- In “Software Library”, right-Click the package and select “Deploy”
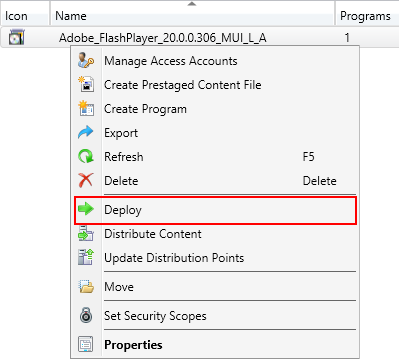
.
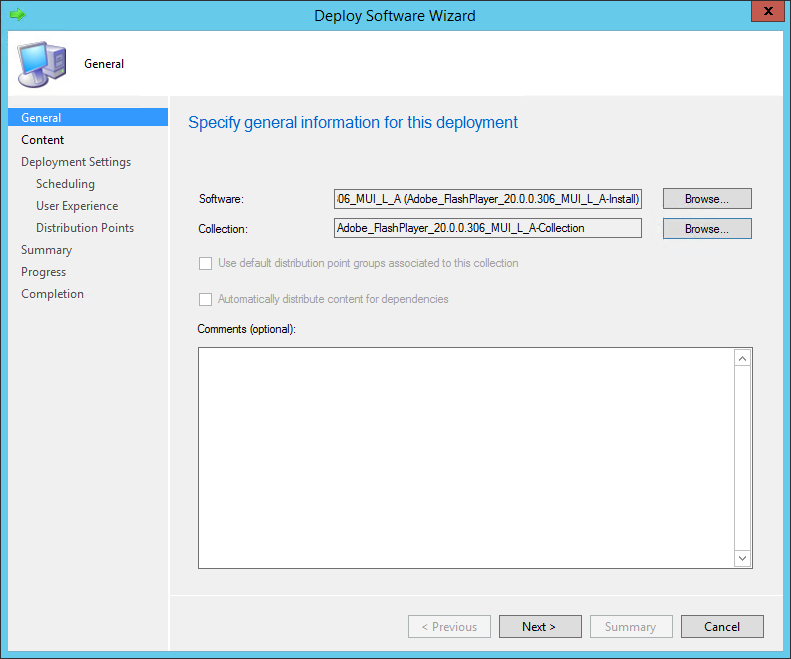
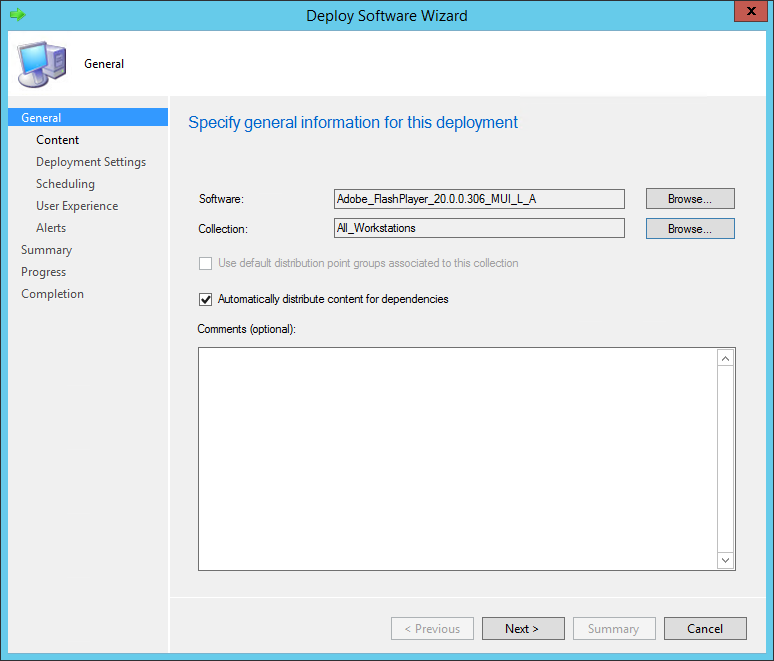
Browse the program
Browse the collection
Next
.

The list of the Distribution Points appears
Next
.
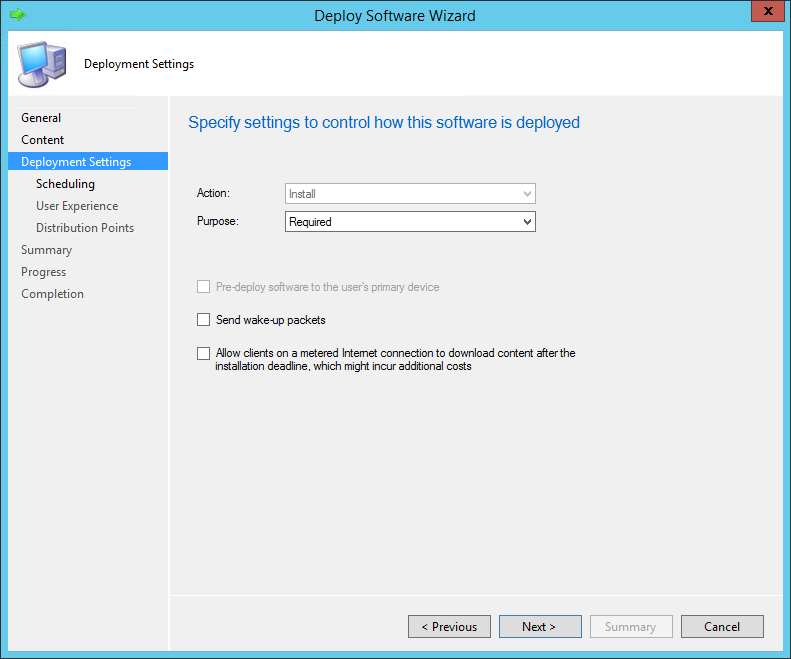
Select the purpose (Available or Required)
Available: the package will only appears in the “Available Software” of the Software Center and the user will have launch installation himself
Required: The package will be automatically installed without asking the user
Next
.
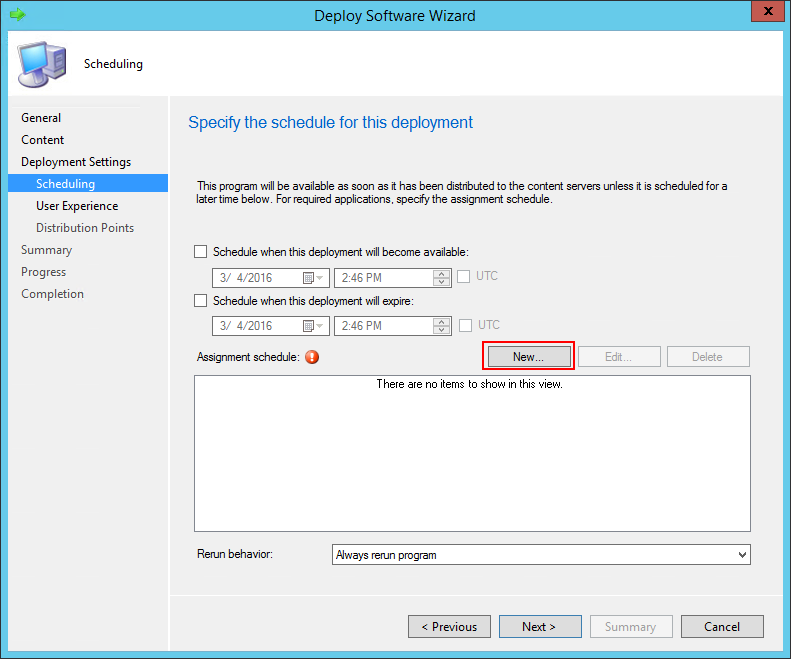
Schedule the installation by clicking “New”
To schedule the installation to a specific date and time, click ”Schedule”
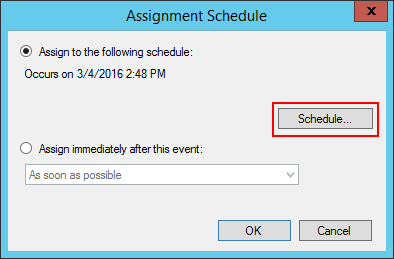
Choose the date and time of installation and validate
To schedule the installation as soon as possible, select “Assign immediately after this event”
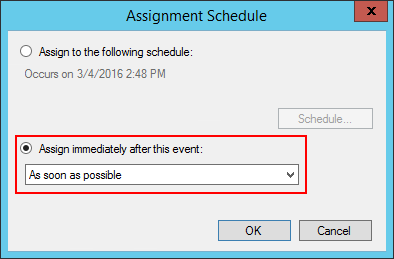
Select “As soon as possible”
OK
.
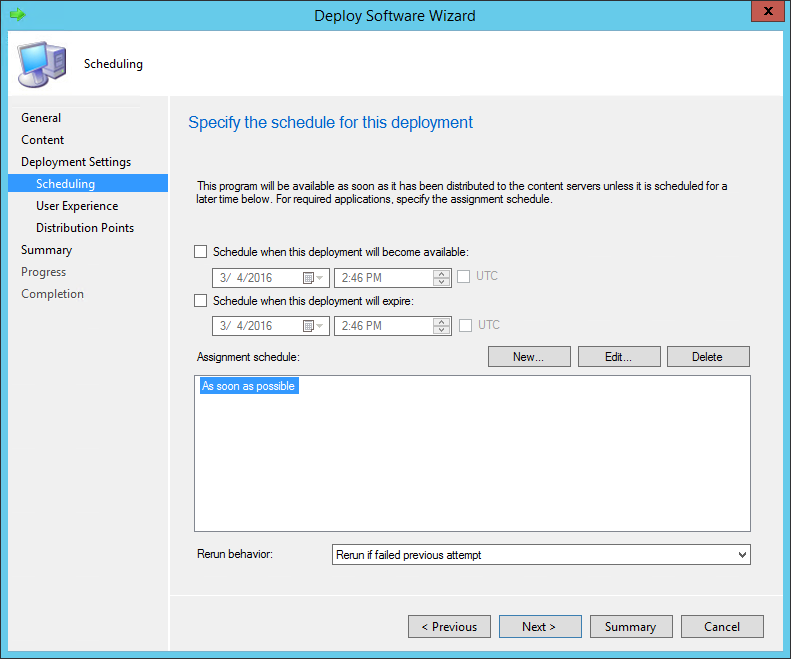
Back the Schedule window, click Next
.
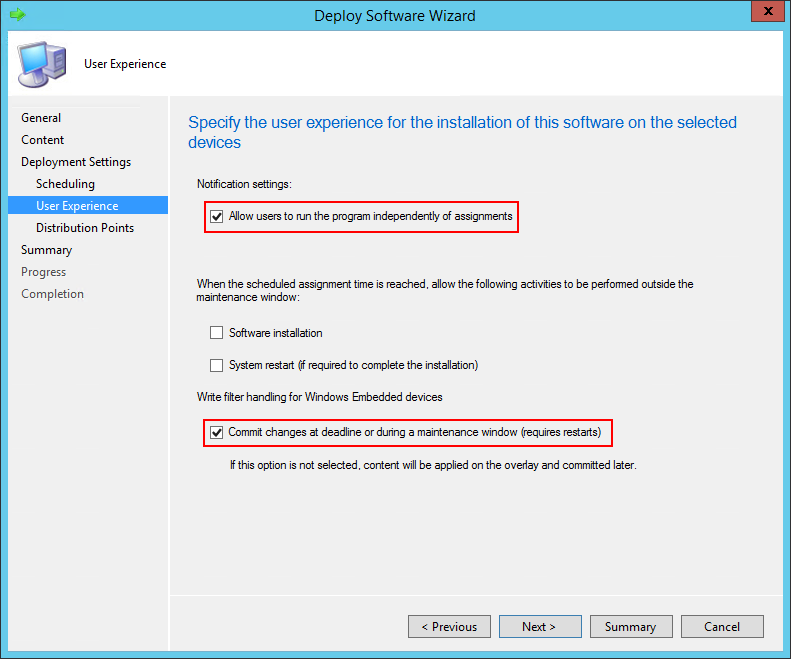
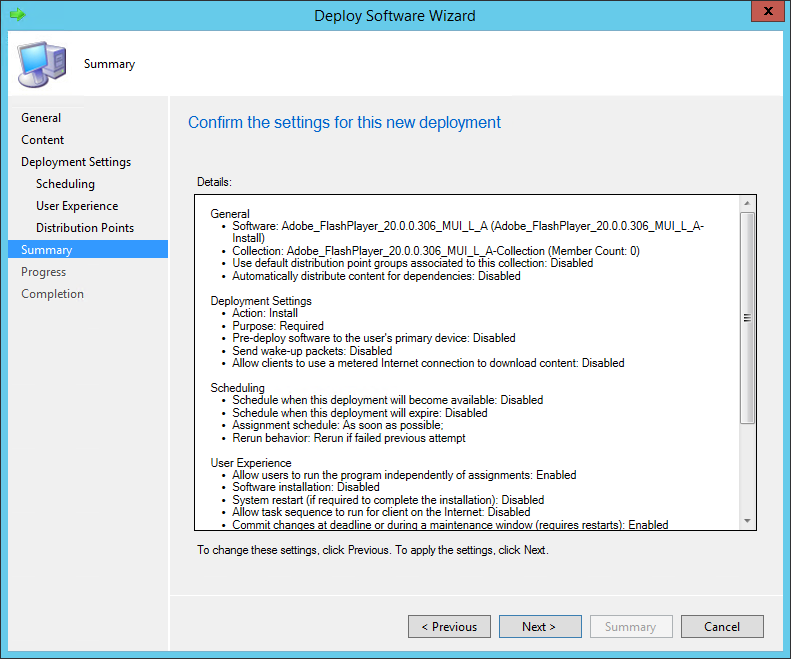
Select “Allow users to run the program independently of assignments”
Select “Commit changes at deadline or during a maintenance window”
“Software Installation” can also be selected if the package must be installed outside the maintenance window…
Next
.
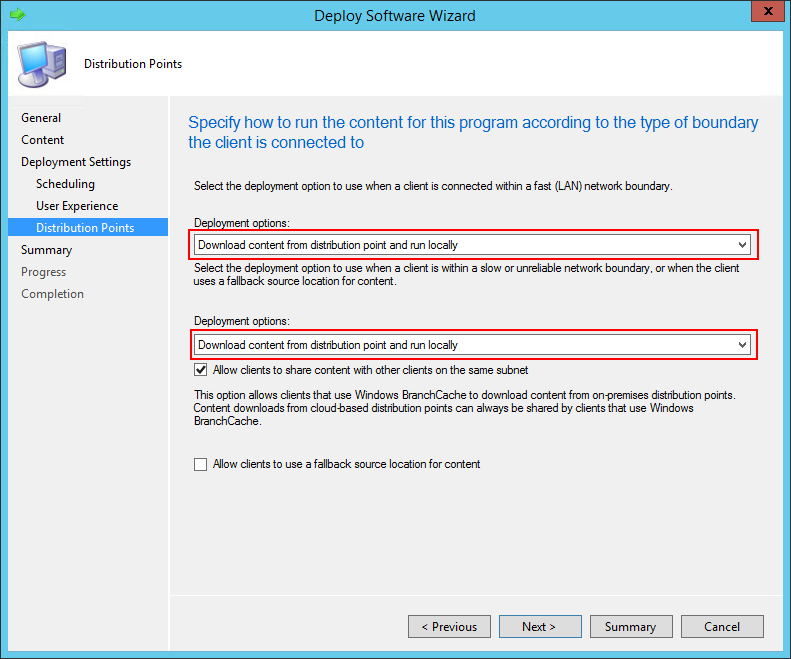
Select “Download content from distribution point and run locally” twice
Next
.
Next
.

Close
.
7.2 Deploy an Application
The application has been created.
Deployment Types have been associated to the software.
The content have been copied on the Distribution Points.
The collection defining the target workstations has been created.
It’s now time to associate the deployment type to the collection and to schedule the installation.
- In “Software Library”, right-Click the application and select “Deploy”
.
Browse the collection
Next
.
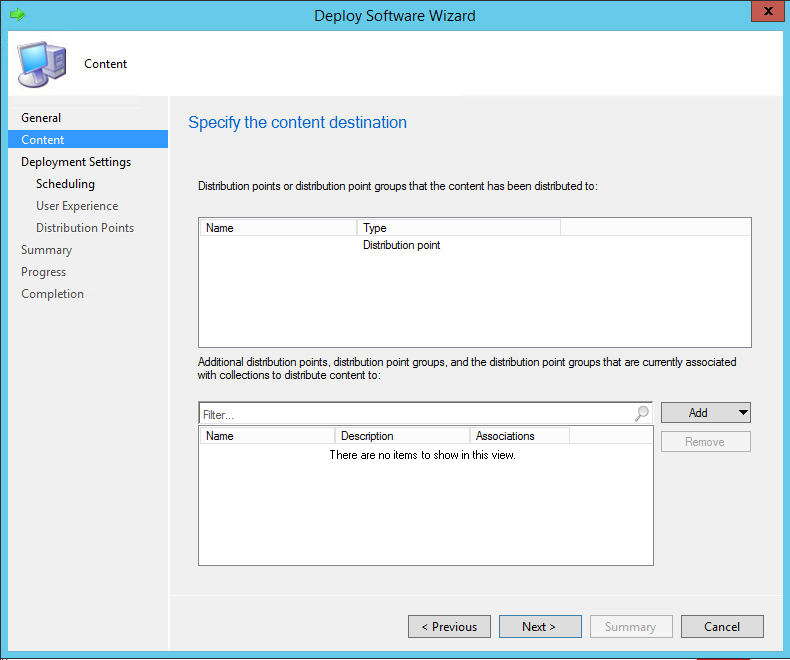
The list of the Distribution Points appears
Next
.

Select the purpose (Available or Required)
Available: the package will only appears in the “Available Software” of the Software Center and the user will have launch installation himself
Required: The package will be automatically installed without asking the user
Next
.
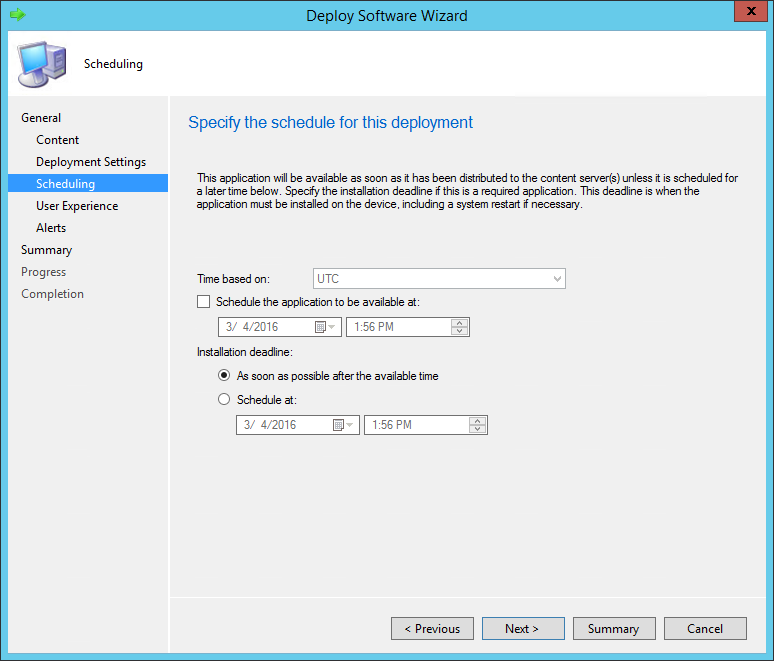
Select “As soon as possible after the available time”
Or schedule when the application will be available and then installed
Next
.
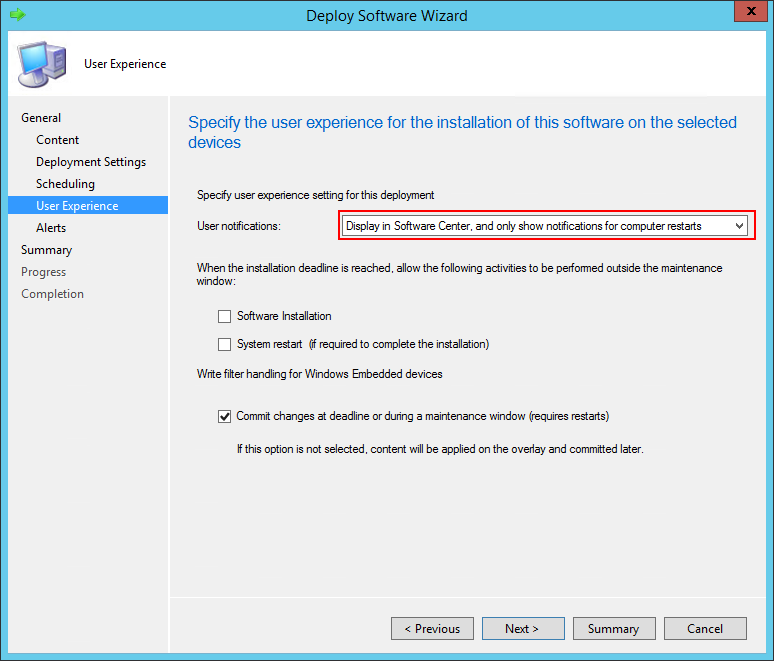
Select “Display in Software Center, and only show notifications for computer restarts”
Next
.
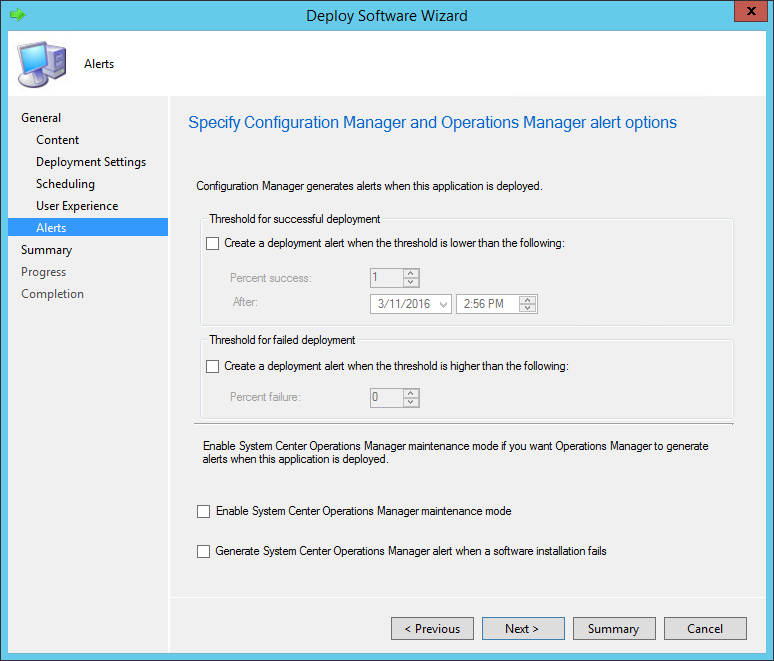
Next
.
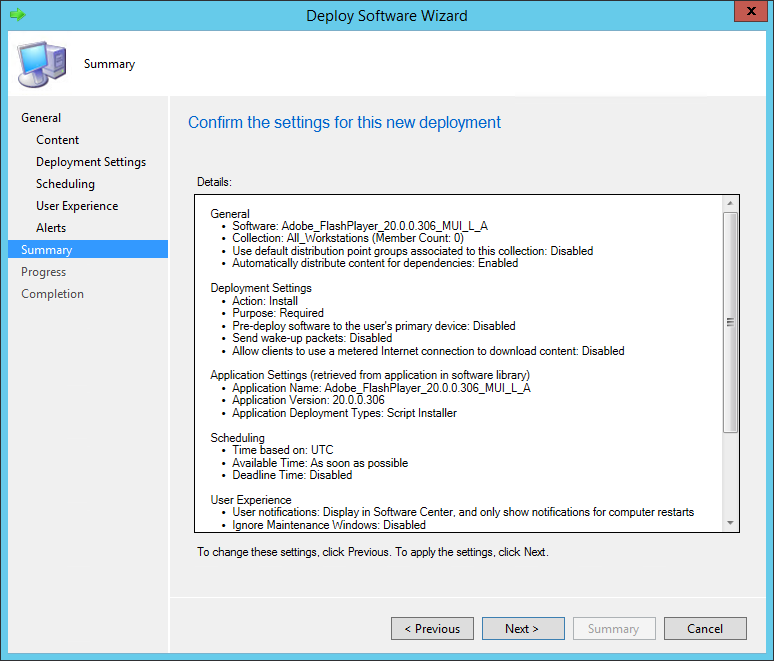
Next
.
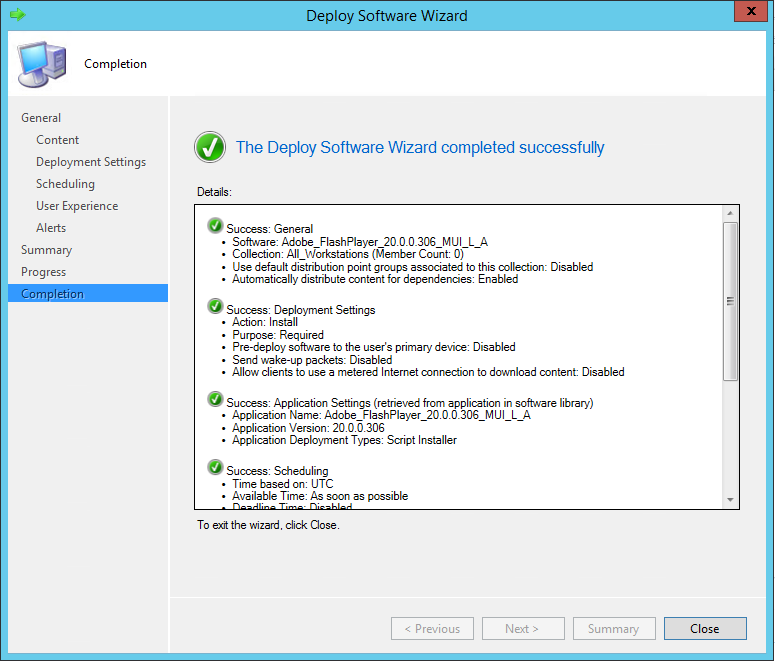
Close