1. How to create a custom WIM image
.
Preparation of the technician computer
To prepare the technician computer, Windows Assessment and Deployment Kit (ADK) must be downloaded and installed. That tool replaces the older WAIK utility.
.
The author step
First, the author step consists in creating an answer file.
You are going to install Windows 8 onto a reference computer which is will be the basis of the WIM.
So to help streamline that step, create an answer file including any customization available.
The answer file can be created using a tool of the ADK: Windows System Image Manager (WINSIM).
The author step also include the creation of a custom Windows PE boot media.
That Windows PE boot media will be used later on to capture the WIM image.
.
Installation
The next step is to install Windows 8 using the answer file onto the reference computer.
Name the answer file auto unattend.xml and copy it at the root of your media.
You can also name it whatever you want by using the switch /unattend with the setup.
.
Customization
This is where we are going to customize and make the image unique to the organization (adding drivers and some applications,altering specific operating system settings…) All user settings have to be applied within Group Policy.
.
Generalization
Generalization is the process of removing unique values out of the image, such as computer name or security identifier. For that prupose, we can use Sysprep. Sysprep stands for system preparation and allows stripping away any of those unique values.
.
Capture
The next phase is capturing the image and creating a WIM file.
For that purpose, we need to boot into a separate operating system, the Windows PE reated earlier.
Win PE allows running servicing tools and image capturing tools outside the reference computer.
First, we have to boot on the reference computer to the WinPE media and run the tool DSIM.
DISM, which is included int the ADK, allows capturing the reference computer content into a WIM.
To deploy the WIM file, you can name it install.wim and apply it manually using a USB media.
You can also copy it and deploy it within a network share.
You can also use specific tools to deploy the image such as WDS or SCCM.
.
.
2. ADK
The Assessment and Deployment Kit (ADK) is available from Microsoft’s web site. It includes tools to help with the automation of Windows systems, including Windows 8 and Windows Server 2012.
The ADK contains the following tools:
.
Deployment Tools
Deployment Image Servicing and Management (DISM). DISM is a command line tool that applies an image, or captures and creates WIM files. It also can be used to mount a WIM file to a folder and doing offline servicing.
Windows System Image Manager (WSIM). WINSIM allows creating xml answer files to help with the automation of installing. It’s also possible to use WSIM to inject drivers.
BCDBoot. BDCBoot helps configuring the boot environment or repairing it
.
WinPE Tools
Those tools allow copying Windows PE image on a location (using copype batch file), configure it (injecting network card drivers…), and creating customized Windows PE on a bootable media (using MakeWINPE batch file).
.
User State Migration Tools (USMT)
USMT allows mass automation of migration of user settings from the old system to a new system (using ScanState and LoadState utilities).
.
Other Tools
Application Compatibility Toolkit (ACT), Volume Activation Management Tool (VAMT), Windows Performance Toolkit (benchmark, analyze performance…)
.
.
3. Creating WinPE Media
Creating a custom Windows PE is the first step to create a custom Windows 8 image and deploy it.
But it’s also useful for recovery situations or to troubleshoot a system that’s having difficulty.
.
Installation of ADK
The first step is the installation of ADK, which contains tools allowing WinPE media creation and customization.
Download the ADK installer then install it on the technician computer.
ADK is installed by default in the following location: C:\Program Files (x86)\Windows Kits
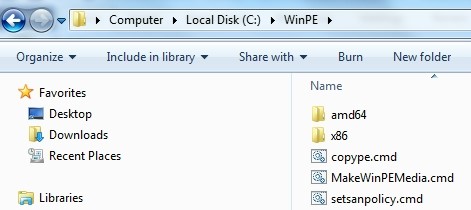
The folder needed to create WinPE media is located in the following folder:
C:\Program Files (x86)\Windows Kits\8.1\Assessment and Deployment Kit\Windows Preinstallation Environment
Copy that folder at the root of C: and rename it WinPE
.
Preparing list of drivers to integrate
Create a folder at the root of C: and name it Drivers.
Copy all INF files corresponding to the drivers to integrate in that folder.
For example Ethernet driver, Wi-Fi driver, hard drive driver, USB drivers…

.
Copying the WinPE image
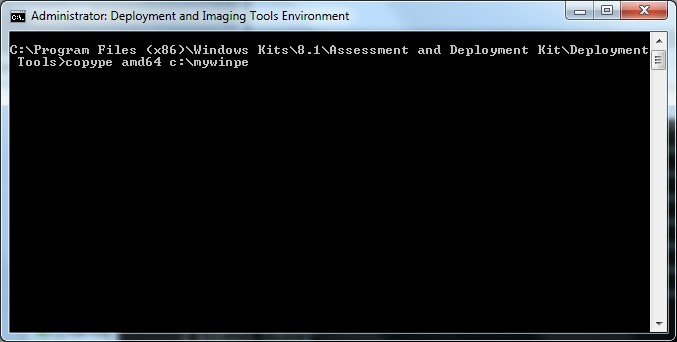
Run Deployment and Imaging Tools Environment as administrator from the Start Menu.
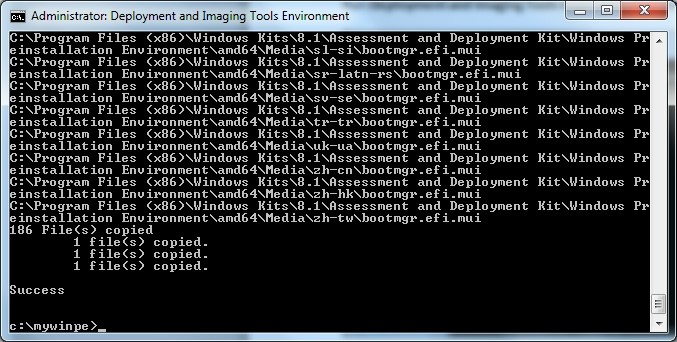
Run the copype command and indicate the architecture and the location:
copype amd64 c:\mywinpe
.
.
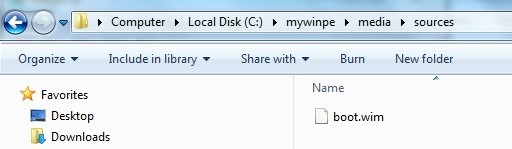
The WINPE image is now located in C:\mywinpe\media\sources
.
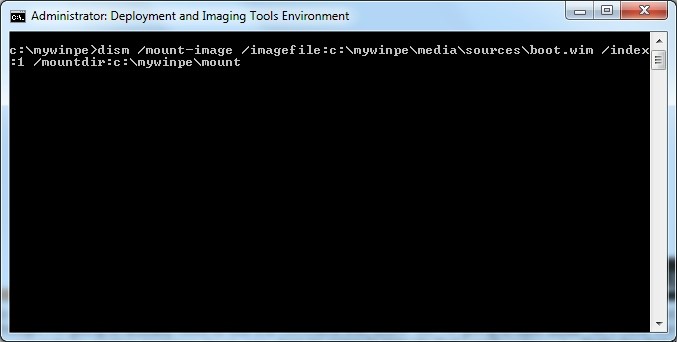
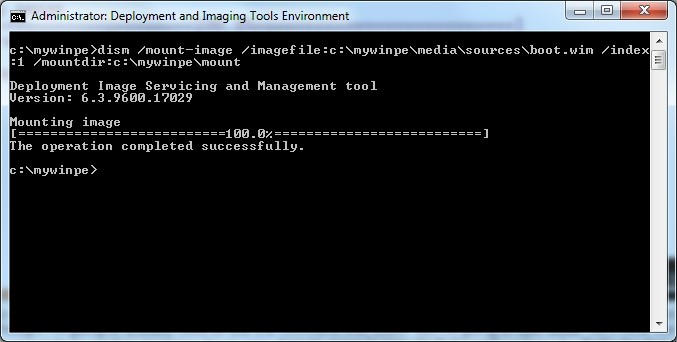
Mounting the WinPE image
To mount the WinPE image, use the DISM tool.
dism /mount-image /imagefile:c:\mywinpe\media\sources\boot.wim /index:1 /mountdir:c:\mywinpe\mount
.
.
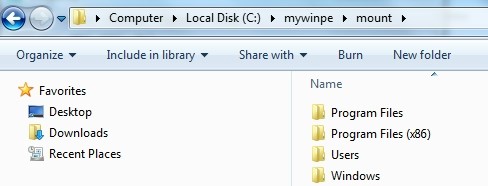
WinPE image is now mounted in C:\mywinpe\mount
.
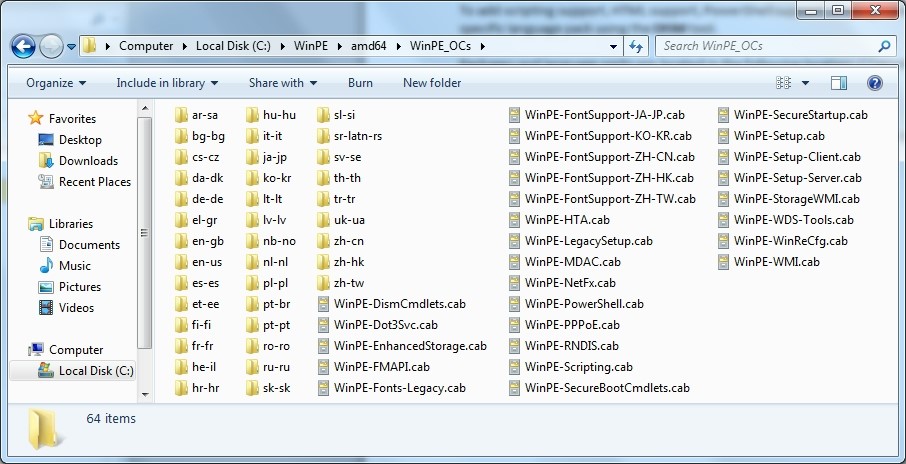
Adding support
To add scripting support, HTML support, PowerShell support… Packages need to be added with their specific language pack using the DISM tool.
Packages and language packs are located in the following location: C:\WinPE\amd64\WinPE_OCs
.
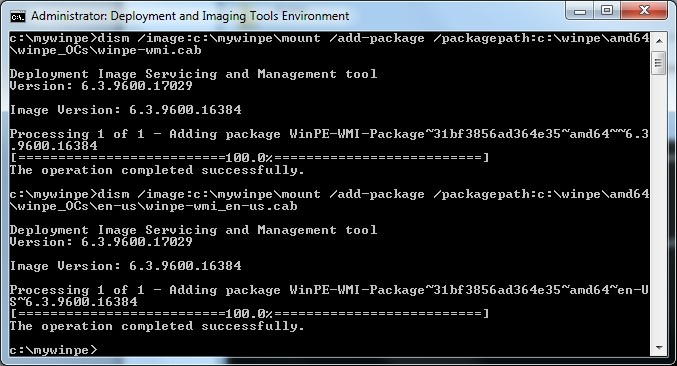
For example, let’s add the WMI package for Windows PE and its language pack:
dism /image:c:\mywinpe\mount /add-package /packagepath:c:\winpe\amd64\winpe_OCs\winpe-wmi.cab
And its language packs:
dism /image: c:\mywinpe\mount /add-package /packagepath:c:\winpe\amd64\winpe_OCs\en-us\winpe-wmi_en-us.cab
.
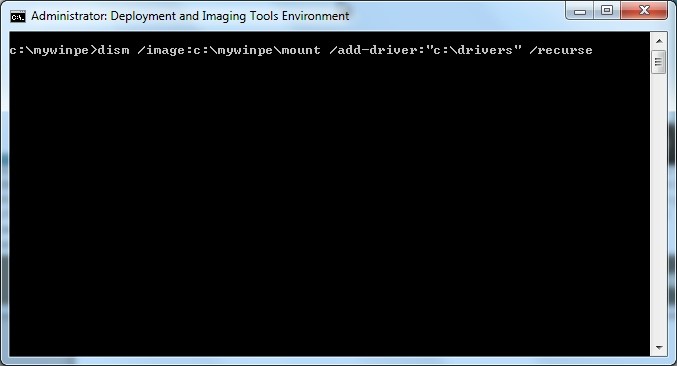
Adding drivers
DISM tool is also used to inject drivers into the WinPE image.
To add all drivers copied in the Drivers folder:
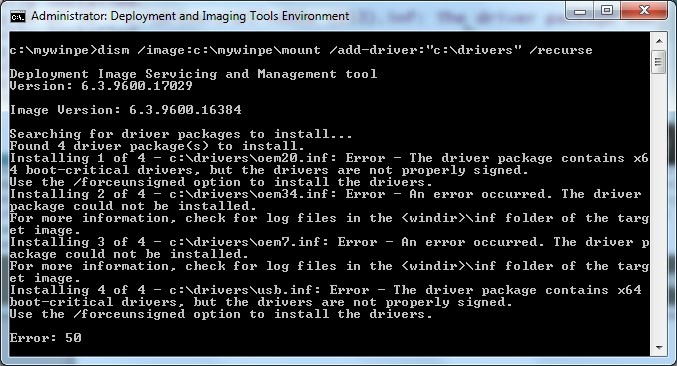
dism /image:c:\mywinpe\mount /add-driver:”c:\drivers” /recurse
.
.
There are errors because some of drivers are unsigned.
.
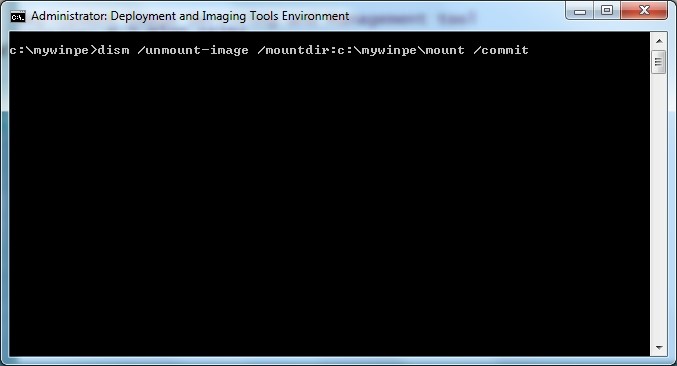
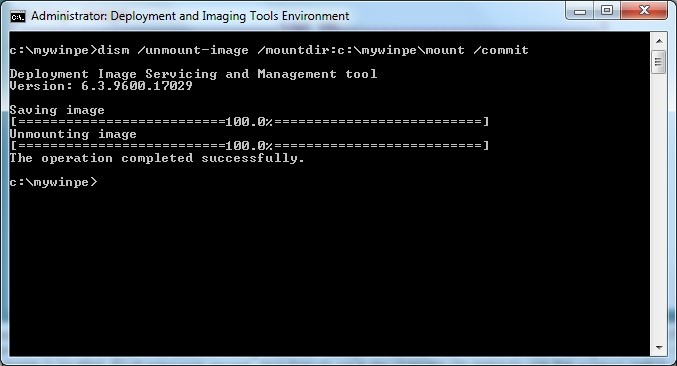
Saving the image
DISM tool is used again.
First the tool save the image then it unmounts it.
dism /unmount-image /mountdir:c:\mywinpe\mount /commit
.
.
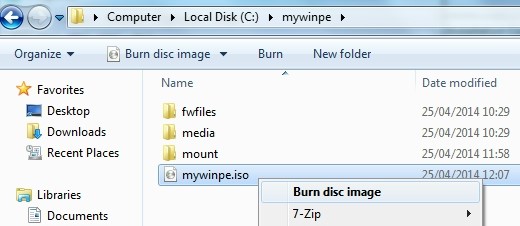
Creating a bootable media
The bootable media can be a flash drive, or an ISO file, or an ISO file burned to DVD.
To create such media, ADK provides a tool: makewinpemedia
For example, let’s creating an ISO file.
makewinpemedia /iso c:\mywinpe c:\mywinpe\mywinpe.iso
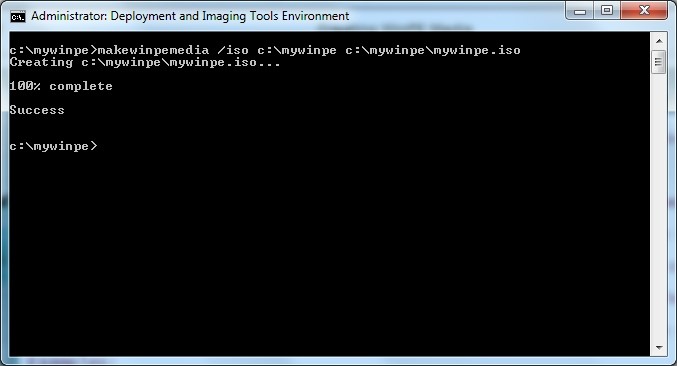
.
The ISO file is now created and ready to be burn on a DVD.
.
.
4. Creating Custom WIM Images
Creating a custom WIM image needs the following requirements:
- A technician computer: the computer on which Windows Assessment and Deployment Kit (Windows ADK) is installed
- A reference computer: A computer that represents any computer in the organization. For this computer, choose a design that does not require special drivers or hardware configurations. The design must include at least one available USB port.
- A test computer: A computer for testing the operating system and assess compatibility. This computer must have a hardware design that matches specific computer hardware in the organization.
.
Creation of an Answer File
Creating an answer file allows installing a pre-configured Windows image on a reference computer before capturing it.
The tool allowing creating answer files is Windows System Image Manager (WINSIM).
.
First, copy the install.wim file on the technician computer.
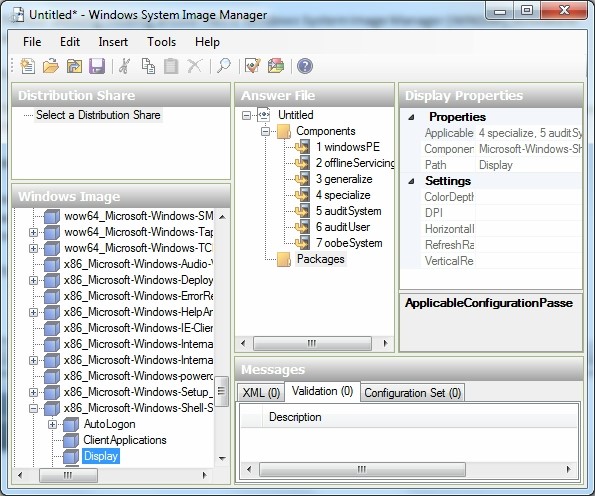
Then, launch WINSIM and point it to the install.wim file and start the answer file creation using:
File > New Answer File
WINSIM will read it, index it, and create a catalog file.
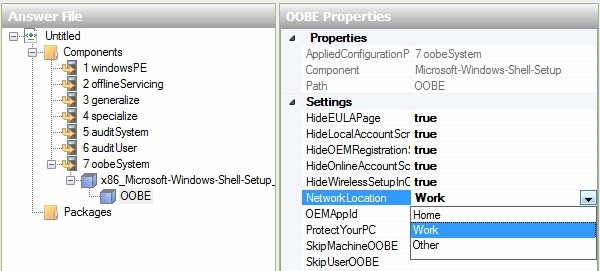
The components available shows all the different settings that are possible to automate (areas to run scripts, create user accounts, the product key, network configuration settings, Internet Explorer settings, drivers…)
To include a component, right-click on it, add it to the answer file, and fill the settings fields.
.
To use an answer file to customize setup, name it autounattend.xml and store it at the root of the install media. Or call up the file with /unattend:[filepath].
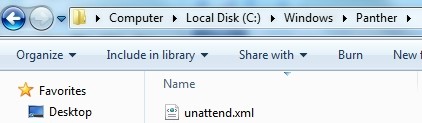
Answer file is cached during Windows setup and it persists in between reboots. Answer file may contain sensitive information (domain information, passwords, product key…), so don’t forget to delete this cached answer file before giving it to a customer.
Cached answer file is located in the Panther folder under the Windows directory.
.
Installation and customization of the Image
Install the pre-configured image using the answer file on the reference computer, then:
- Install applications
- Customize settings
- Install updatesRegarding user profile setting, it’s better to set them using Group Policy (GPO).
.
Generalization using Sysprep
Once the reference computer is installed and customized, the system is ready to be generalized using Sysprep to clean it up. Generalizing the system removes any of the unique values in the system, particularly the System Security Identifier, or SID
Sysprep is a part of Windows 8, located in the System32 directory in a folder called Sysprep.
.
First, reboot into Sysprep Audit Mode, login as the default administrator account and then delete the profile of the build account and any files remaining so there is no memory of the account that was used to actually make the machine.
To run this:
- Use the command prompt run as administrator.
- Step into the Sysprep folder.
- Enter Sysprep /generalize
.
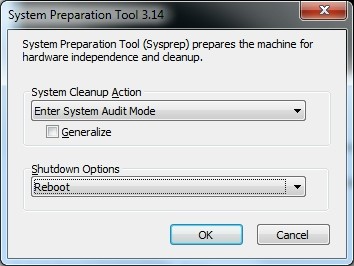
- Then choose to reboot in Audit Mode
.
- Delete the profile of the build account and any files remaining
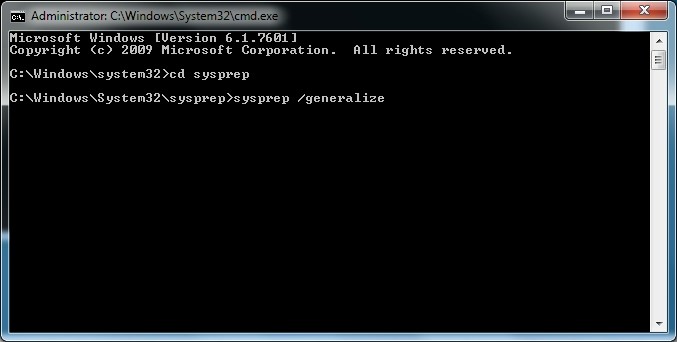
Then, run SYSPREP /generalize to prepare the reference computer for the final capture.
To run this:
- Use the command prompt run as administrator.
- Step into the Sysprep folder.
- Enter Sysprep /generalize
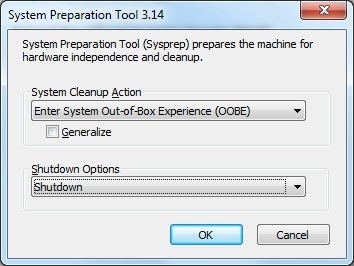
- Select Enter System Out-of-Box Experience (OOBE) and Shutdown
.
Then reboot the system into WINPE to run DISM and capture the image.
.
Capture of the Image
Reboot the reference computer into WinPE.
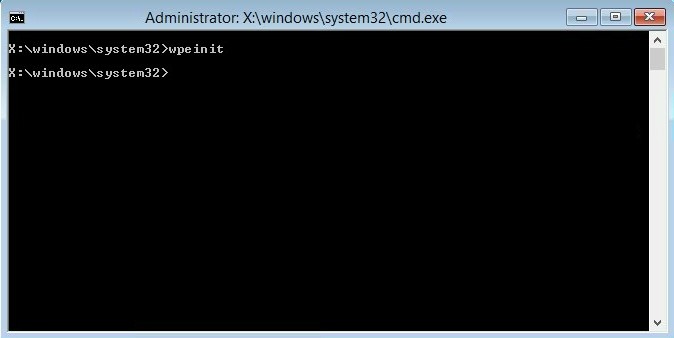
.
The next step is to examine the disk configuration on the system. If the system partition does not have a drive letter assigned to it, we will have to assign a drive letter to it using Diskpart.
diskpart
list disk
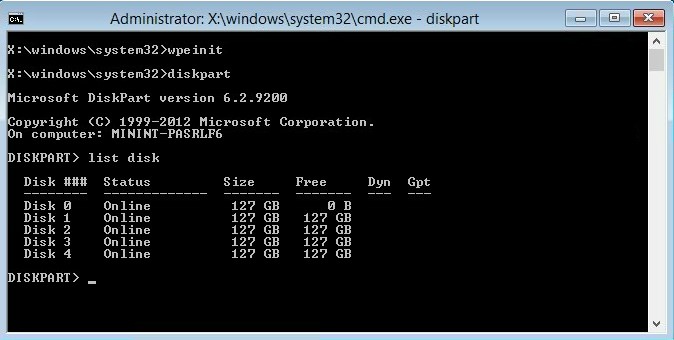
.
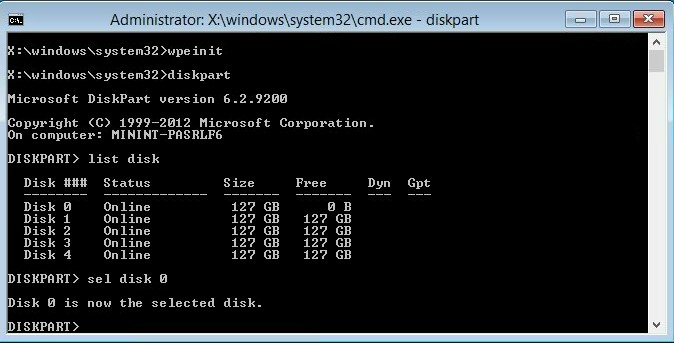
Several disks appear. The disk used is disk 0
sel disk 0
.
list partition
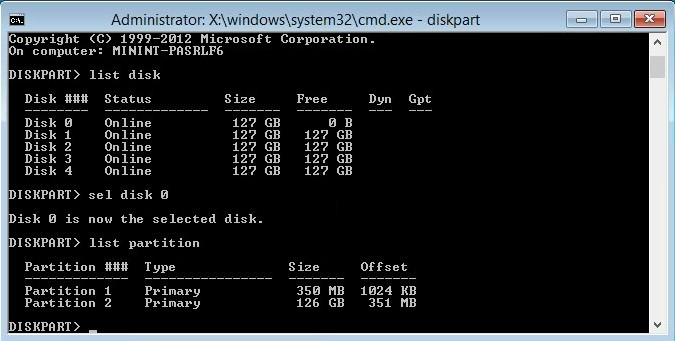
.
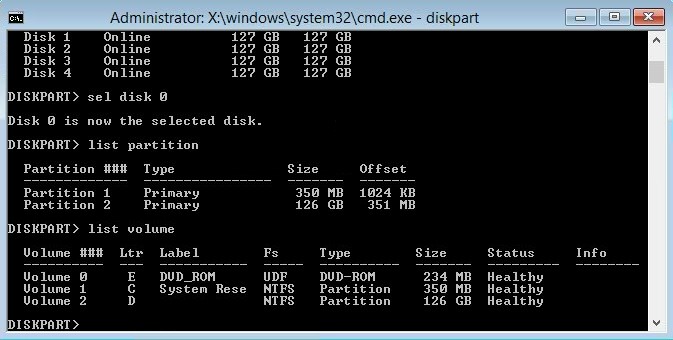
Check the drive letters.
list volume
.
We can see that drive letters have already been assigned and so Diskpart can be leaved.
If they were not assigned, we could select a volume and assign a drive letter here so we can reference it in DISM
exit
cls
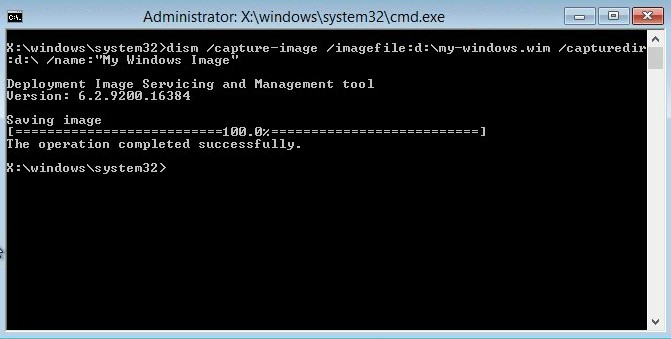
Capture the operating system with the DISM command.
dism /capture-image /imagefile:d:\my-windows.wim /capturedir:d:\ /name:”My Windows Image”
.
The WIM file can be stored on the same partition that is captured.
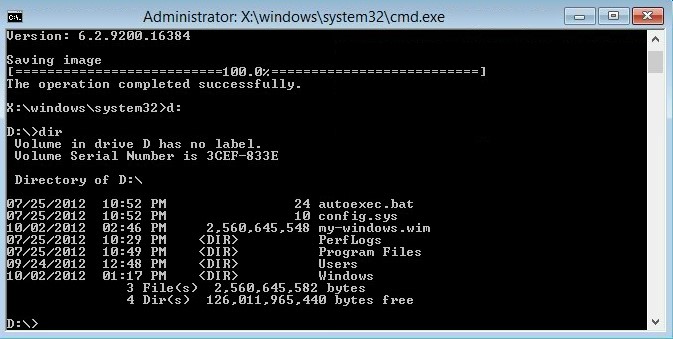
Let’s have a look at the WIM file itself.
d:
dir
.
dism /get-wiminfo /wimfile:d:\my-windows.wim
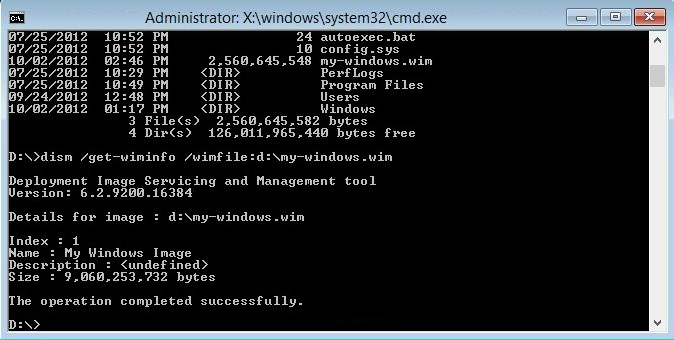
.
We can see that the capture completed successfully.
.
There was another volume listed in C drive. It’s the one that contains the boot files and it can be captured as well using DISM.
WIM files can contain more than one image.
dism /append-image /imagefile:d:\my-windows.wim /capturedir:c:\ name:”System”

.
That appears now in the WIM file info
dism /get-wiminfo /wimfile:d:\my-windows.wim

.
The custom WIM file is now created.
Microsoft provides a tool called Microsoft Deployment Toolkit (MDT) which is a very powerful utility to create custom WIM files.
.
Install Custom WIM Image
Use DISM to apply an image to a system.
Remember a WIM file can contain more than one image, so don’t forget to indicate the right index.
dism /apply-image /imagefile:v:\custom.wim /index:1 /applydir:c:\
.
Service Custom WIM Image
To service images (WIM files or VHDX files) offline, mount the image. Then use DISM to add or remove drivers, packages, language packs, Windows features, and more.
DISM /image:V:\ /Add-Driver /driver:D:\drivers\driver.INF
DISM /image:V:\/Remove-Driver /driver:driver.inf
DISM /image:V:\ /Add Package/PackagePath:D:\packages\packagex.cab
DISM /image:V:\ /Enable-Feature /FeatureName:Hearts
.
.
5. Steps Reminder
The steps are:
- Creation of a WinPE bootable media with the technician computer
- Create and modify answer file to customize Windows with the technician computer
- Use the answer file to install Windows on the reference computer and customize it
- Capture the image: generalize the Windows installation, connect the USB flash drive and then boot into WinPE, run Diskpart, connect the external USB hard disk to the computer, create an Images folder, and copy the image file to the drive Dism /Capture-Image /CaptureDir: D:\ /ImageFile: E:\ThinImage.wim /Name:”__”
- Deploy Windows to test computers: create a Diskpart script and create a deployment script
- Run the scripts on the test computer
- Verify the installation on the test computer