This documentation details the way to re-cache a MSI file then launch its reparation.
It can help for example if we have to re-run an Active Setup whether the MSI has been deleted from the cache…
1. Copy MSI
First thing to do is to copy the MSI in a cache location.
That location must be a secure one to avoid user to delete the copied MSI.
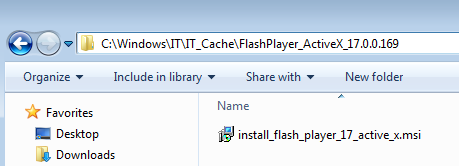
For example: C:\Windows\IT\IT_Cache
Then, let’s create a folder per package and copy the MSI file
For example, Flash Player ActiveX 17.0.0.169: C:\Windows\IT\IT_Cache\FlashPlayer_ActiveX_17.0.0.169
2. Update Registry
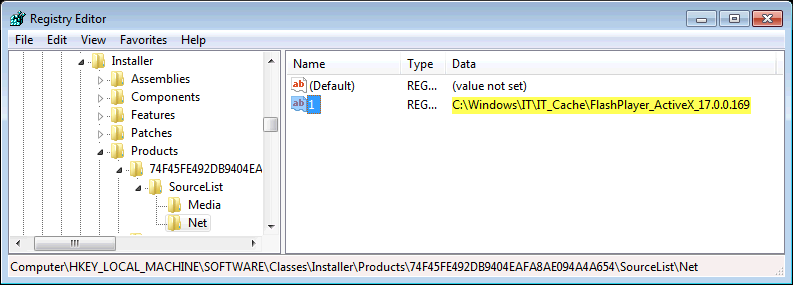
The location of the cache of each MSI is specified twice in the registry:
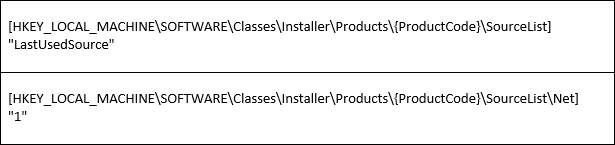
For example:
Flash Player ActiveX:
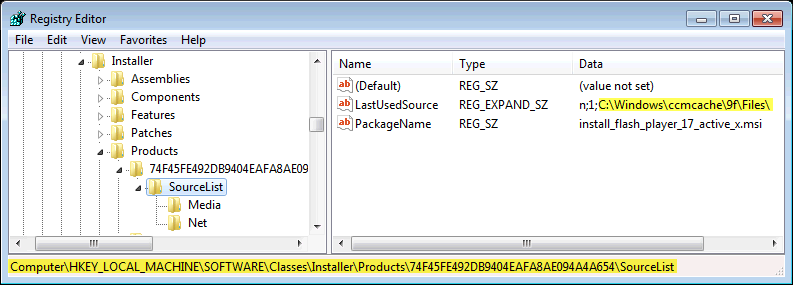
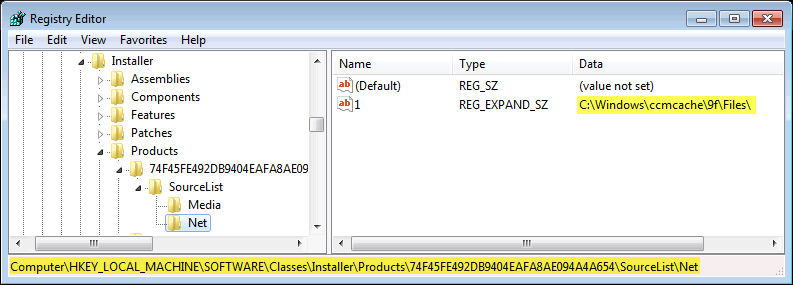
Unfortunately, those registry entries are “REG_EXPAND_SZ”.
So, we have to convert the new location in hexa.
To proceed that way, let’s modify the registry on a test computer then export in a reg file.
For example:

After extraction, we have the following reg file :
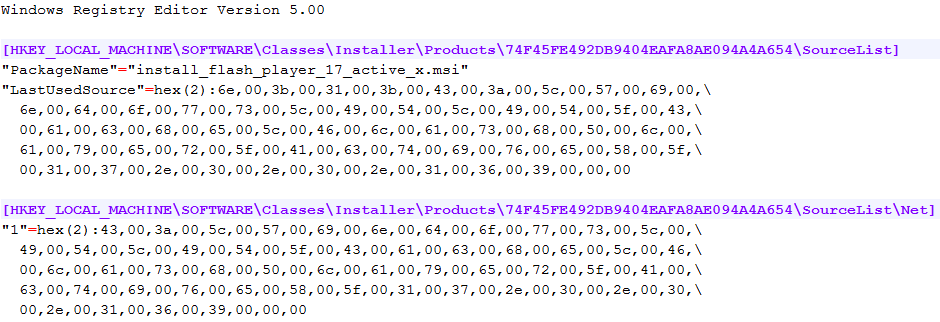
Import the extracted reg file to complete the operation.
3. Repair MSI
Launch the following command to launch the reparation:
msiexec /fa “C:\Windows\IT\IT_Cache\FlashPlayer_ActiveX_17.0.0.169\install_flash_player_17_active_x.msi” /qn /L*xv “C:\LogFolder\FlashPlayer_ActiveX_17.0.0.169-repair.log”