1. Pre-requisite: MSDE
On Windows 7, Wise Package Studio can be installed in 2 ways.
First method: the client/server mode.
In this case, Wise Package Studio is first installed on a computer in server mode, then clients are installed on packaging machines.
This method allows to configure Wise Package Studio only once on the “server” machine, providing the configuration to the clients (MSI model, exclusion list…).
Second method: the standalone mode
In this case, Wise Package Studio is installed on the packaging machine with the configuration.
This method is useful only to modify MSI and MST, but not for snapshot captures.
To work properly, both server and standalone modes needs Microsoft DataBase Engine (MSDE) component to be installed as prerequisite allowing the machine to behave like a server.
https://www.microsoft.com/fr-fr/download/details.aspx?id=22661
.
.
2. Install Wise Package Studio
To install Wise Package Studio in server mode or standalone mode, proceed as following:
Launch WPS_8_00.exe
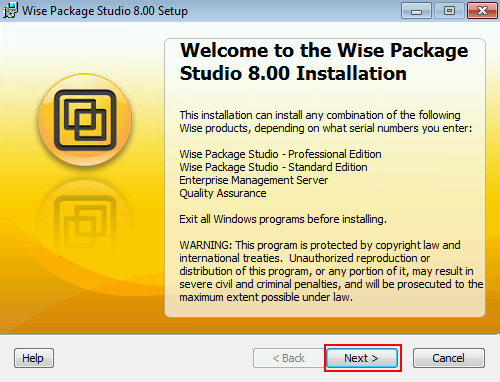
Next
.
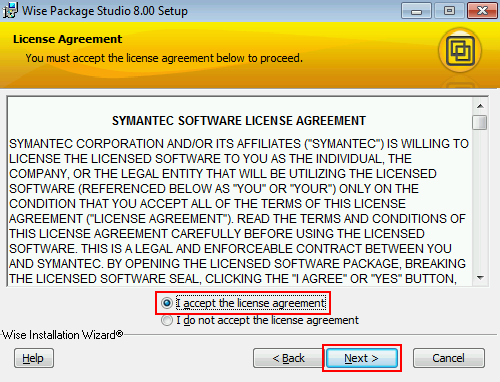
Select “I accept the license agreement”
Next
.
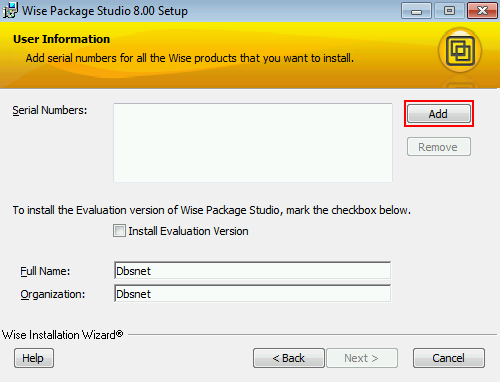
Click Add to enter the license key
.
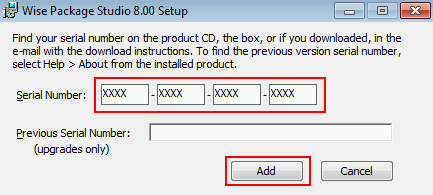
Enter the license key
Add
.
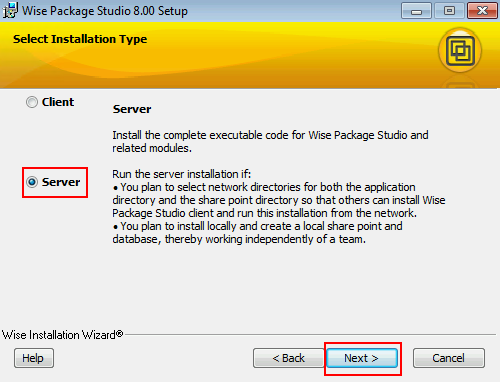
Select Server
Next
.
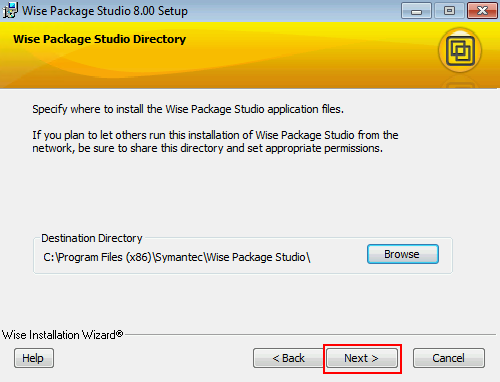
Next
.
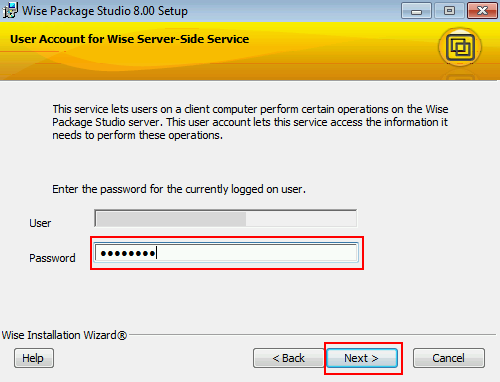
Enter the Windows User and Password
Next
.
Next
.
OK
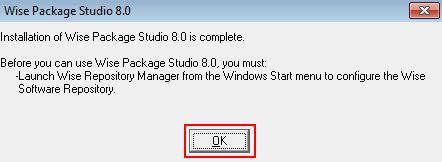
Wise Package Studio is now installed, it’s now time the configure it.
Now restart the machine.
.
.
3. Wise Repository Manager Configuration
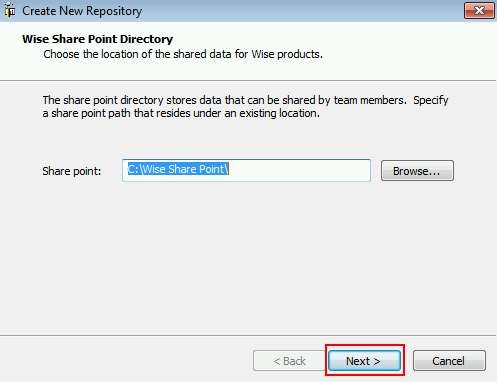
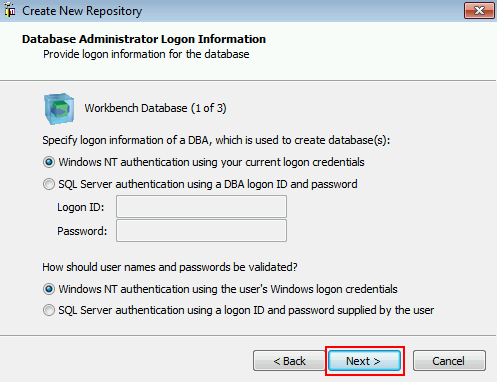
After reboot, launch Wise Repository Manager from the Start Menu.
Next
.
Next
.
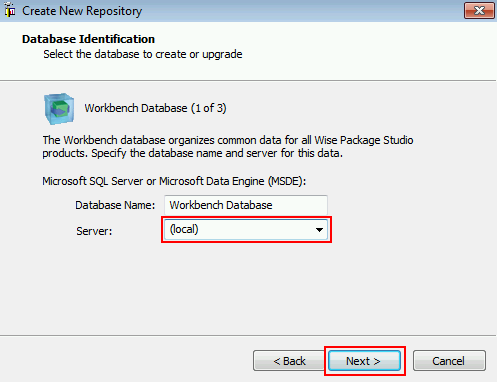
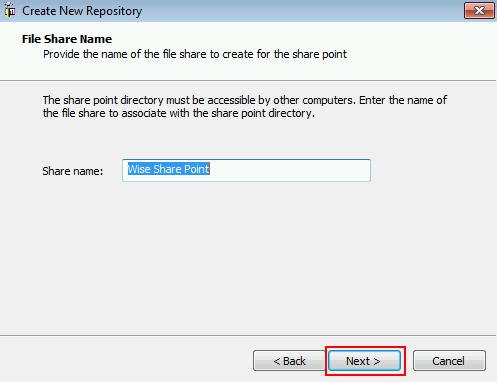
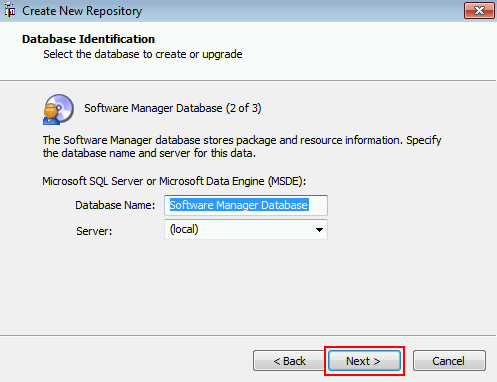
Select (local)
Next
.
Next
.
Next
.
Next
.
Next
.
Next
.
Next
.
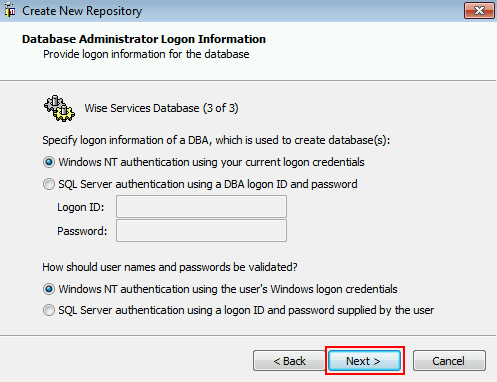
Finish
Wise Repository Manager is now configured.
.
.
4. Exclusion, Template and Macros Configuration
4.1 Managing Exclusions
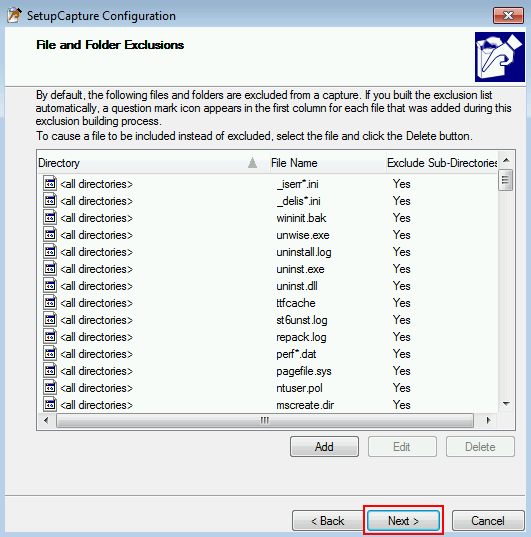
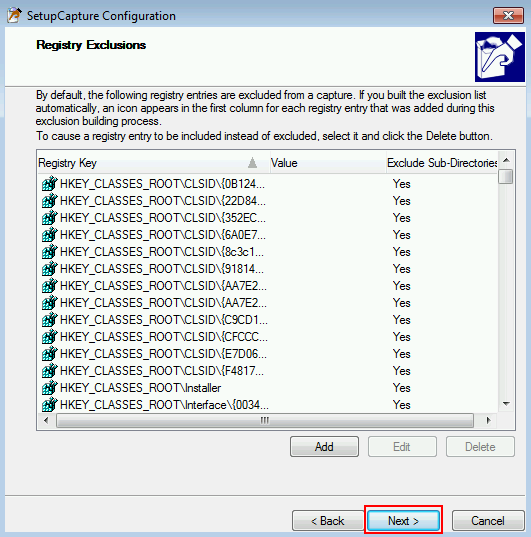
When a MSI is created using the snapshot capture method, polution is generated (unwanted files, registry…)
Some of these unwanted elements are excluded automaticaly by the tool after the capture.
It’s possible to add or remove automatic exclusion thanks to the file Repackage.ini, located at the root of the “Wise Share Point” folder (on the server).
So, you can create your own Repackage.ini file and copy or replace it in “Wise Share Point” folder.
.
4.2 Windows Installer Template
When a MSI is created using the snapshot capture method, a template can be used to set automaticaly some settings (custom features, components, registry, settings…).
This template must be a WSI file and must be copied in the folder “Templates” in “Wise Share Point” folder.
.
4.3 Add Specific Macros
Wise Package Studio Macros are included in a file named Macros.wbs.
This file is located in the folder Wise Share Point\Templates\Macros.
It’s possible to replace or modify this file in order to have specific macros in the packaging projects.
.
.
5. Wise Package Studio Configuration
Launch Wise Package Studio
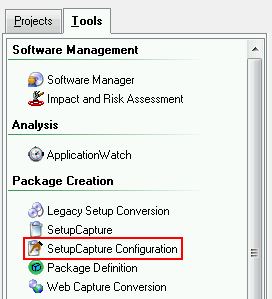
5.1 SetupCapture Configuration
In the “Tools” menu, select “SetupCapture Configuration”
.
.
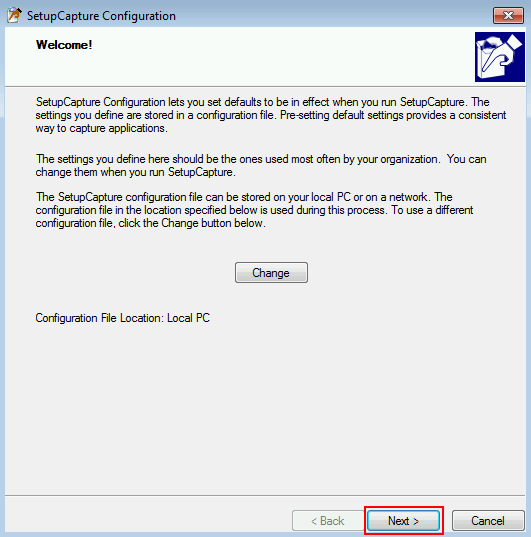
Next
.
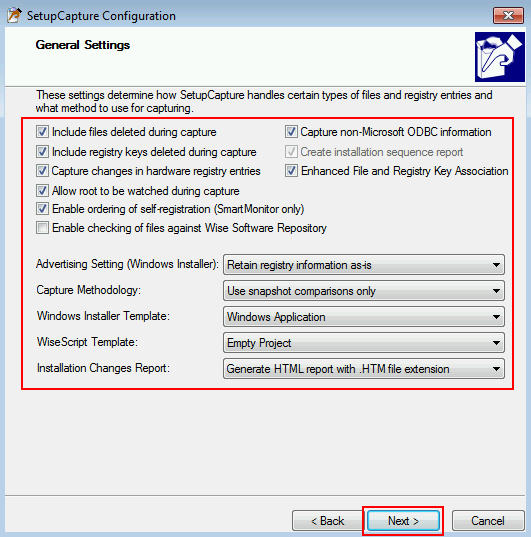
Configure as above
If a Windows Installer template has been copied, it can be selected here
Next
.
Next
.
Next
.
Next
.
Next
.
Next
.
Next
.
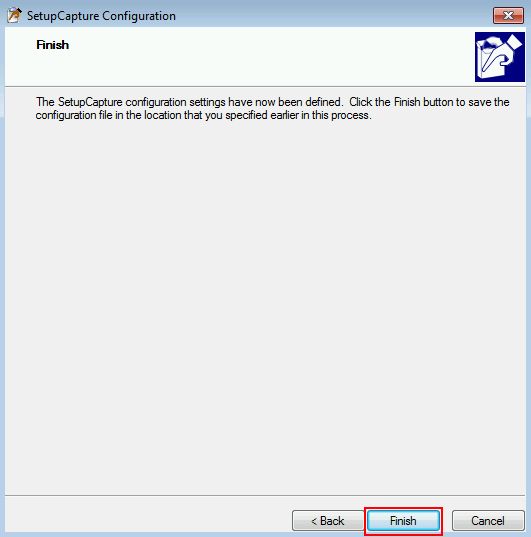
Finish
.
5.2 Windows Installer Editor Configuration
In the “Tools” menu, select “Windows Installer Editor”
.

.
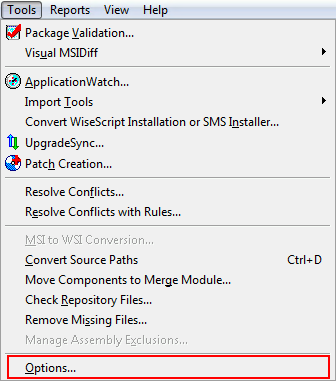
In the “Tools” menu, select “Options…”
.
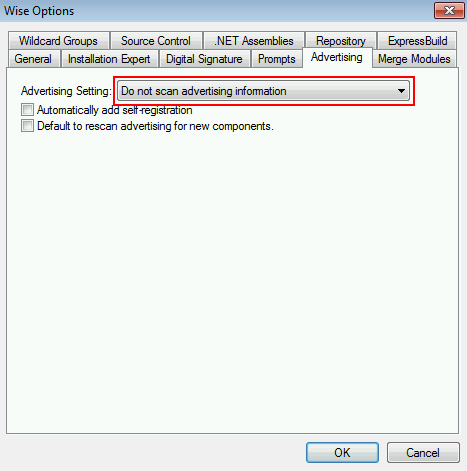
“Advertising” tab
Advertising Setting: Do not scan advertising information
.
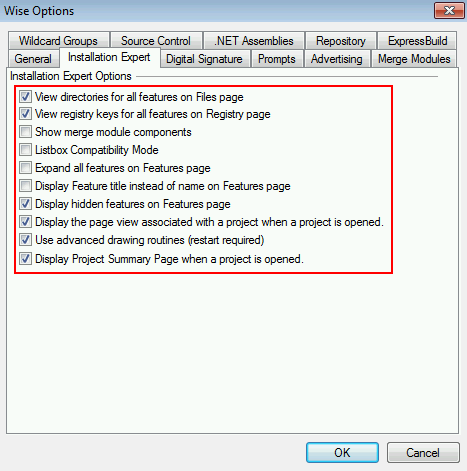
Installation Expert tab
Configure as above
.
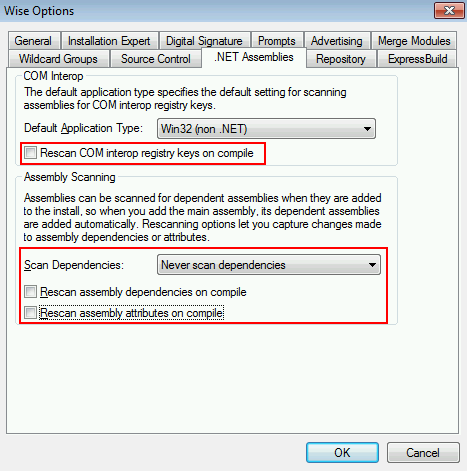
.NET Assemblies tab
Uncheck “Rescan COM interop registry keys on compile”
Scan Dependencies: “Never scan dependencies”