1. Activate Hyper-V
Hyper-V is not activated by default on Windows.
To activate it:
1.1 Windows 7
Go to “Add/Remove Programs” and select “Turn Windows features on or off”
- Expand “Remote Server Administration Tools”
- Then “Role Administration Tools”
- Select “Hyper-V Tools”
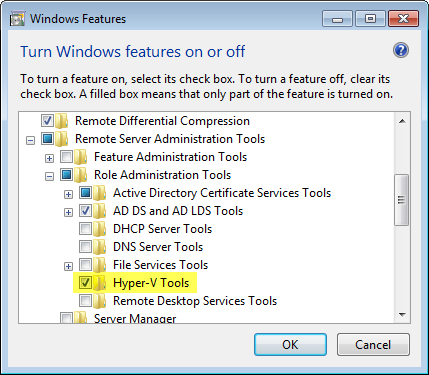
.
1.2 Windows 8 and 10
Go to “Add/Remove Programs” and select “Turn Windows features on or off”
- Select “Hyper-V”
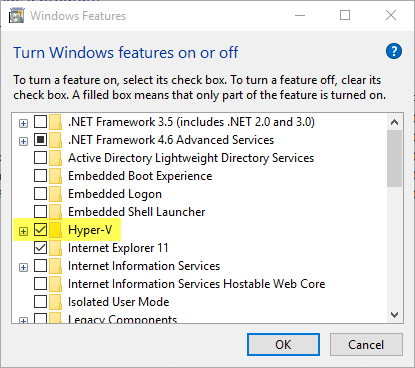
.
2. Configuring Hyper-V Manager
Launch Hyper-V Manager.
.
2.1 Hyper-V Settings
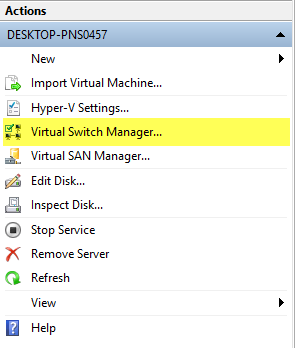
In the “Action” tab, click “Hyper-V Settings…”
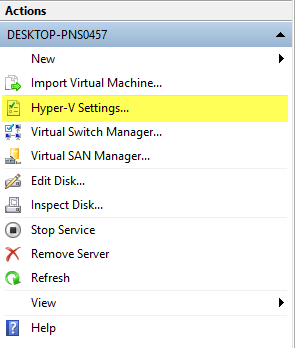
Specify the default folder to store virtual hard disk files and virtual machine configuration files:
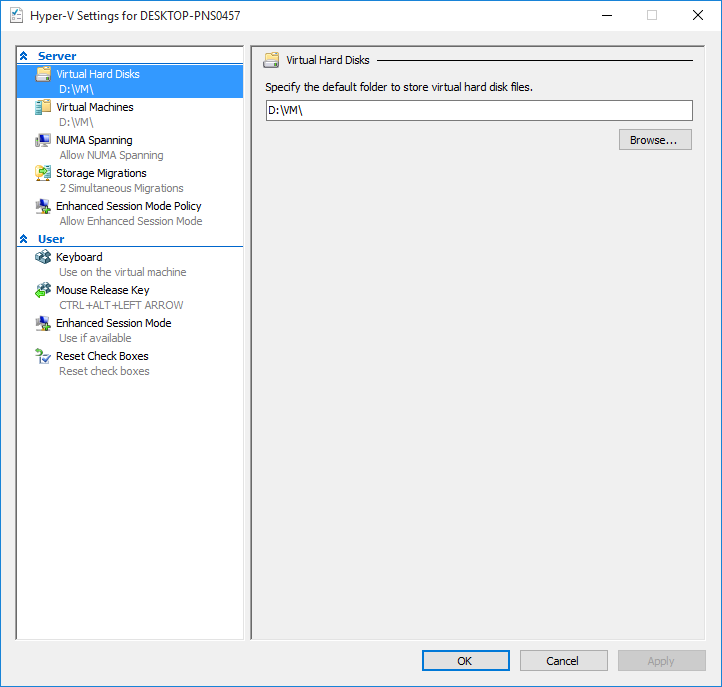

.
2.2 Virtual Switch Manager
In the “Action” tab, click “Virtual Switch Manager…”
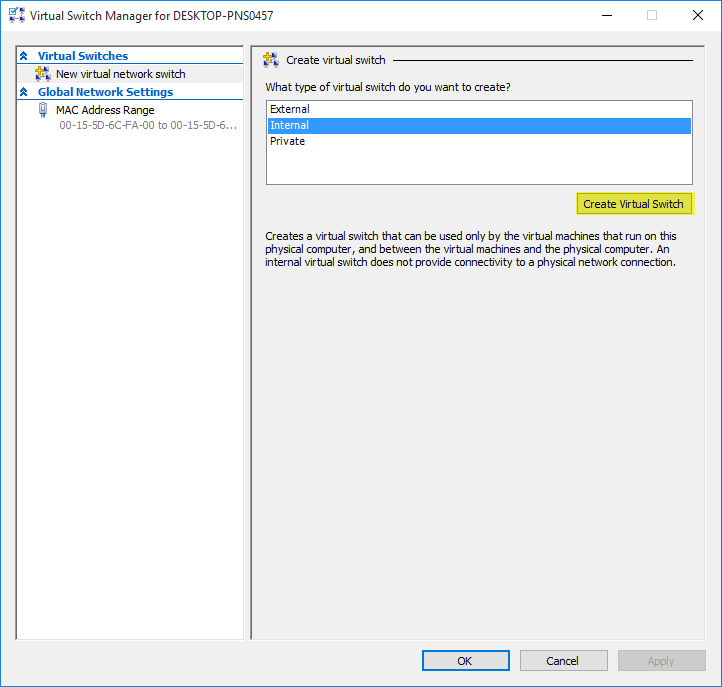
To allow the host and the guest to communicate through the network, create an “Internal” Switch
.
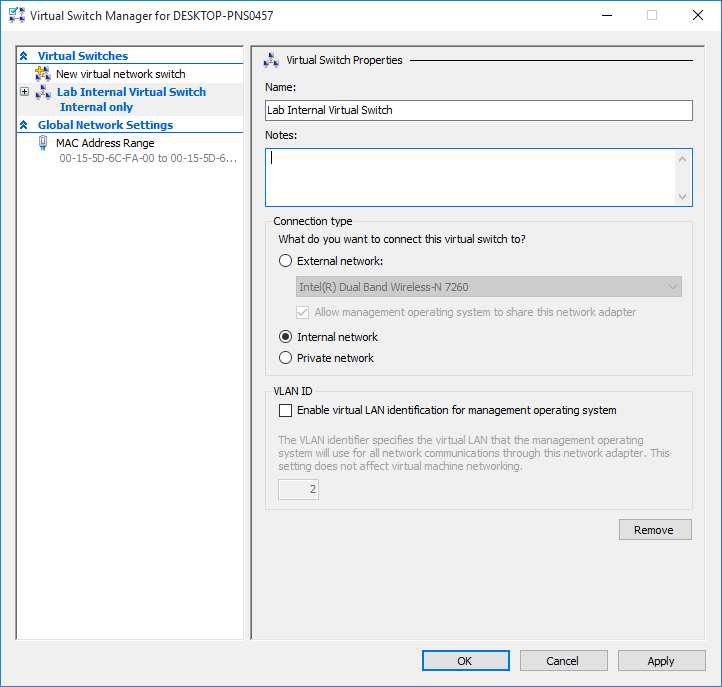
Name the switch
Apply
OK
.
3. Creating VM
Right-Click the host name > New > Virtual Machine…
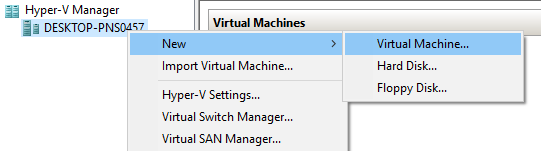
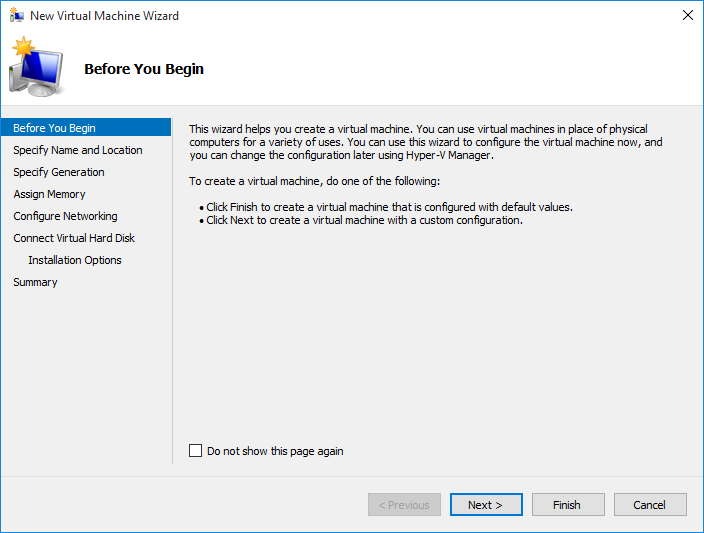
Next
.
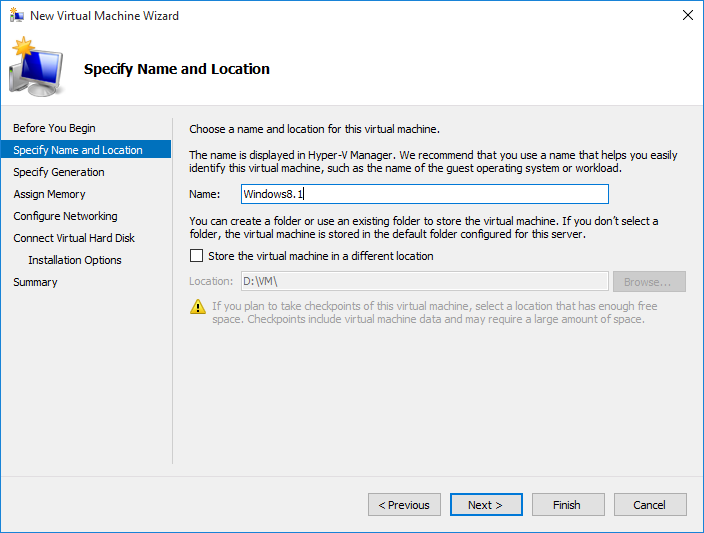
Name the VM
.
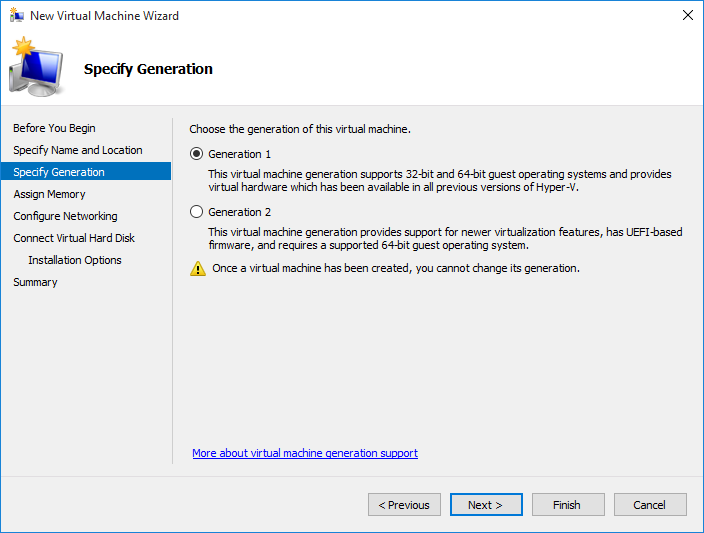
Select the generation according to the needs
.
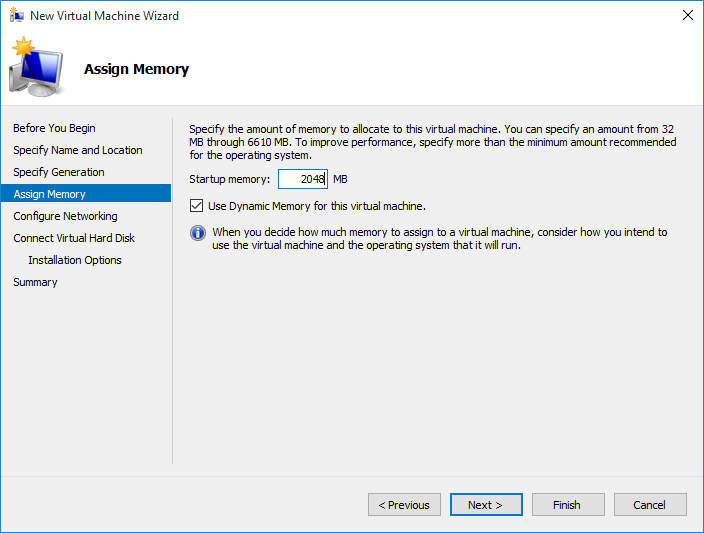
Assign at least 2048 MB
.
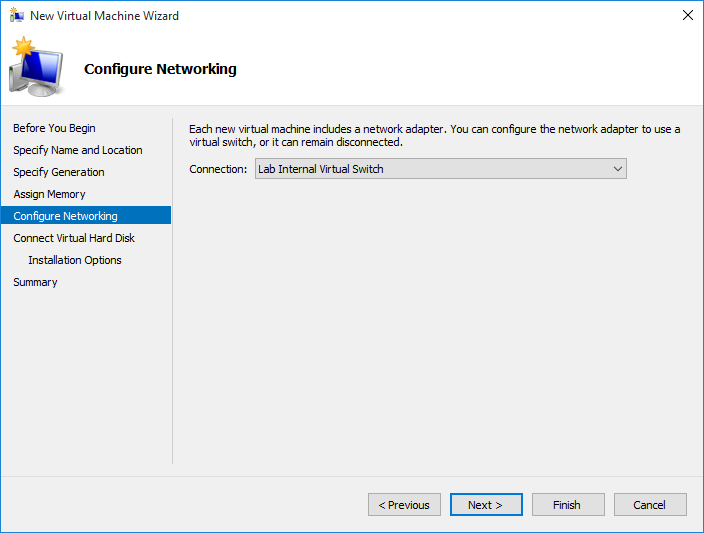
Select the virtual switch created earlier
.
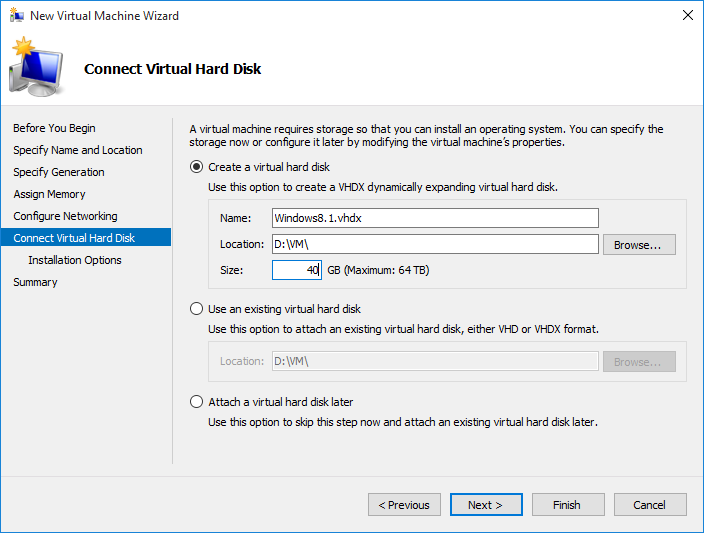
Define the size of the virtual hard drive (for example 40 GB)
.
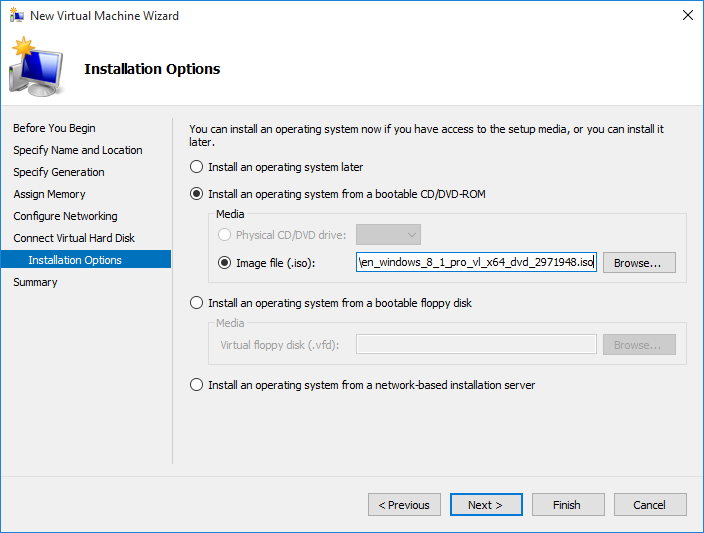
Browse the Windows ISO file
.
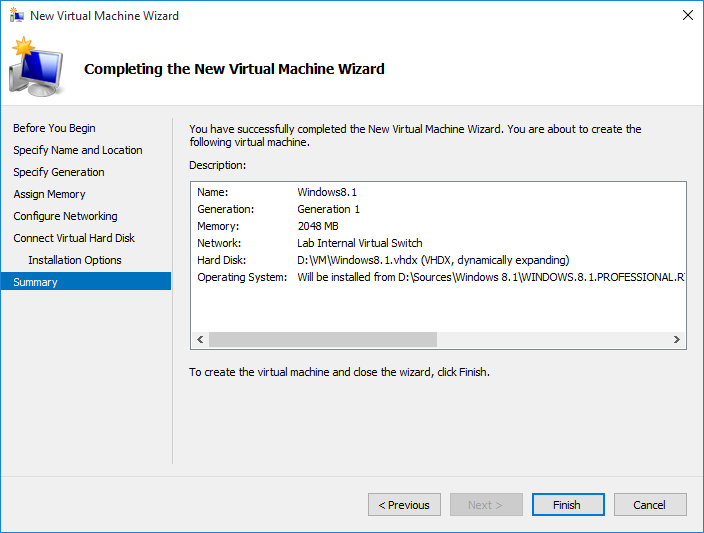
Finish
.
4. Installing Operating System
The new virtual machine appears in Hyper-V Manager
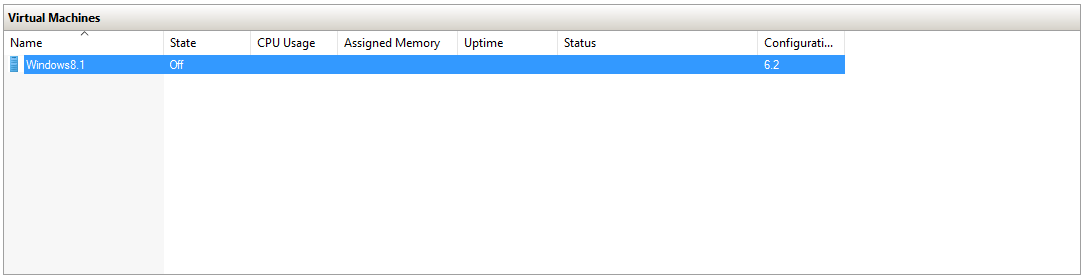
Double-Click on it to launch the console
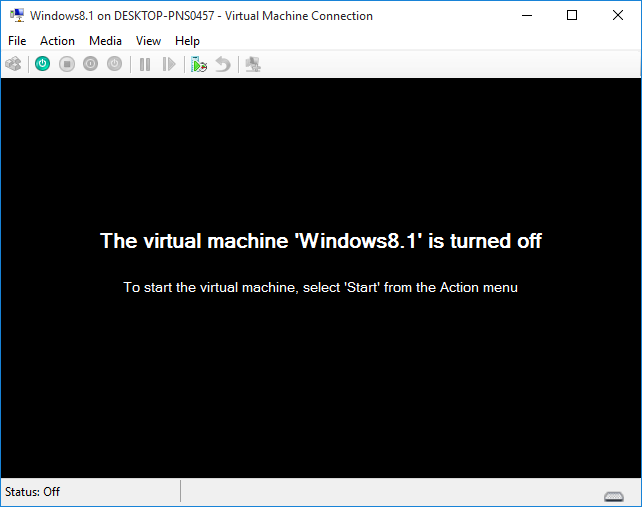
Click the “Start” button to power it on
The virtual machine automatically boots on the ISO file specified earlier
Install the Operating System…